Work Smarter with PDFelement User Guide


-
Get Started With PDFelement for Android
-
Create & Open PDF on Android
-
View PDF on Android
-
Edit & Comment PDF on Android
-
Convert PDF on Android
-
Sign & Protect PDF on Android
-
Organize PDF on Android
-
Search PDF on Android
-
PDF AI Tools on Android
-
Share & Print PDF on Android

Whether it is a contract or a digital agreement, you do not have to print and sign it physically, as the task can be performed digitally, and that too from your smartphone. PDFelement for Android offers a reliable solution to add signatures to your document in the form of writing or an image. Users can simply swipe through the screen, and the app will instantly detect and create the signature.
Moreover, you get the ability to adjust the thickness of the added sign according to your preferences. With the intuitive interface of the PDFelement App, you can resize the signature and place it anywhere within the document. Save the created signature for later use or generate a temporary one for one-time use. To learn how to create and add a signature using this application, read the steps mentioned below:
Step 1. Create Signature and Add
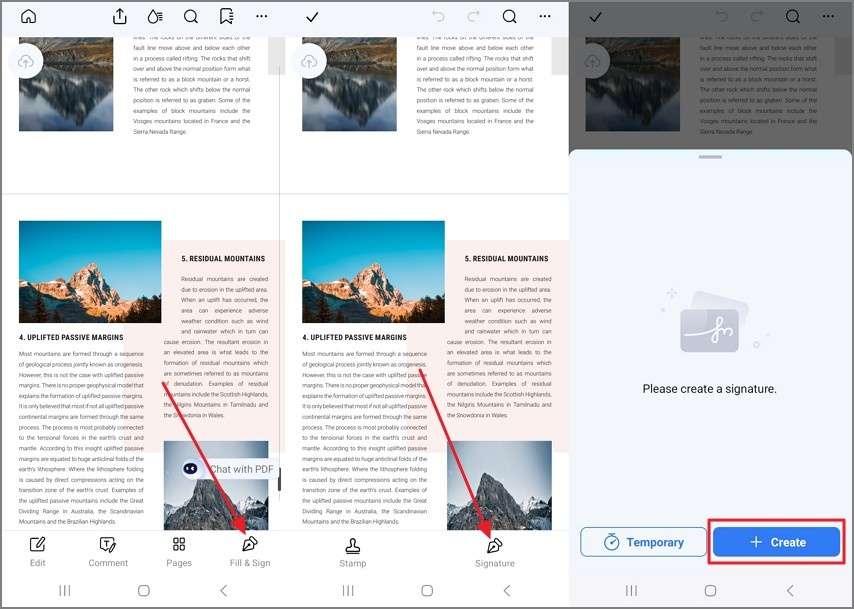
Import your document within the app’s interface and tap on the “Fill & Sign” option located at the bottom right corner of the interface. Next, opt for the “Signature” option on the right side and choose the “Create” option.
Step 2. Create Signature and Add
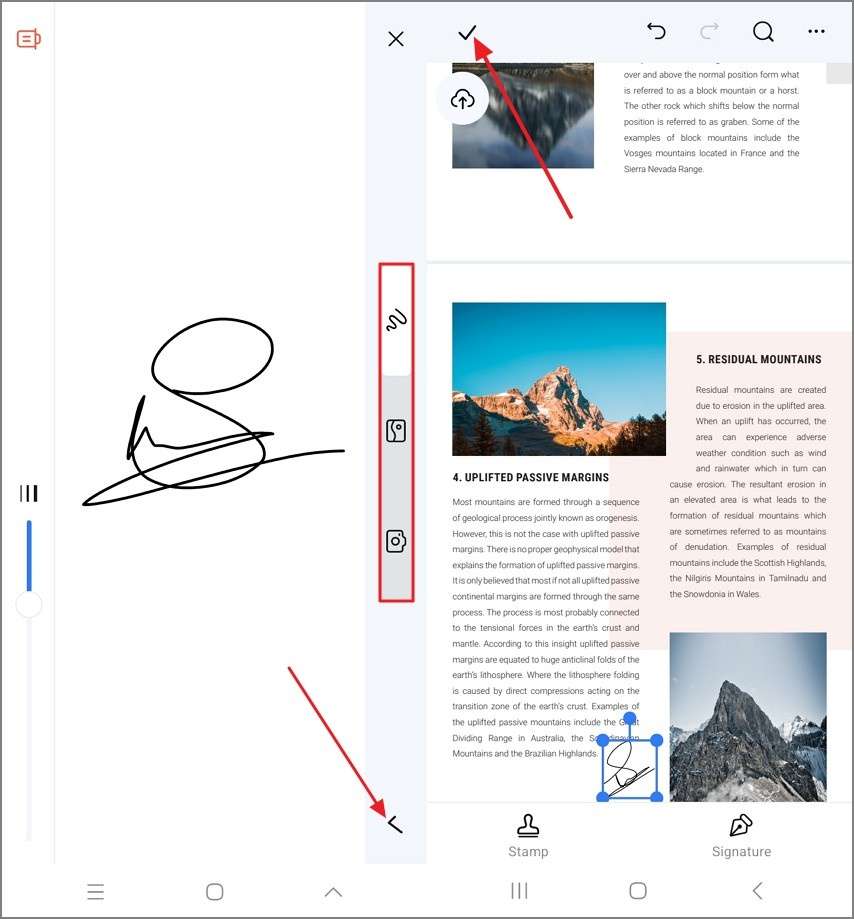
Next, swipe your finger on the screen to generate the signature and adjust the thickness accordingly. Conversely, choose the “Image” from your device’s gallery and add it as a signature. You can also take the picture in real time and add it as a signature using the “Camera” icon. Once the signature is created, tap on the “Tick” icon located in the corner.
Now, head to the document and tap on the area of the page where you want to add the signature. Save the changes using the “Tick” icon located at the top-left corner of the screen.
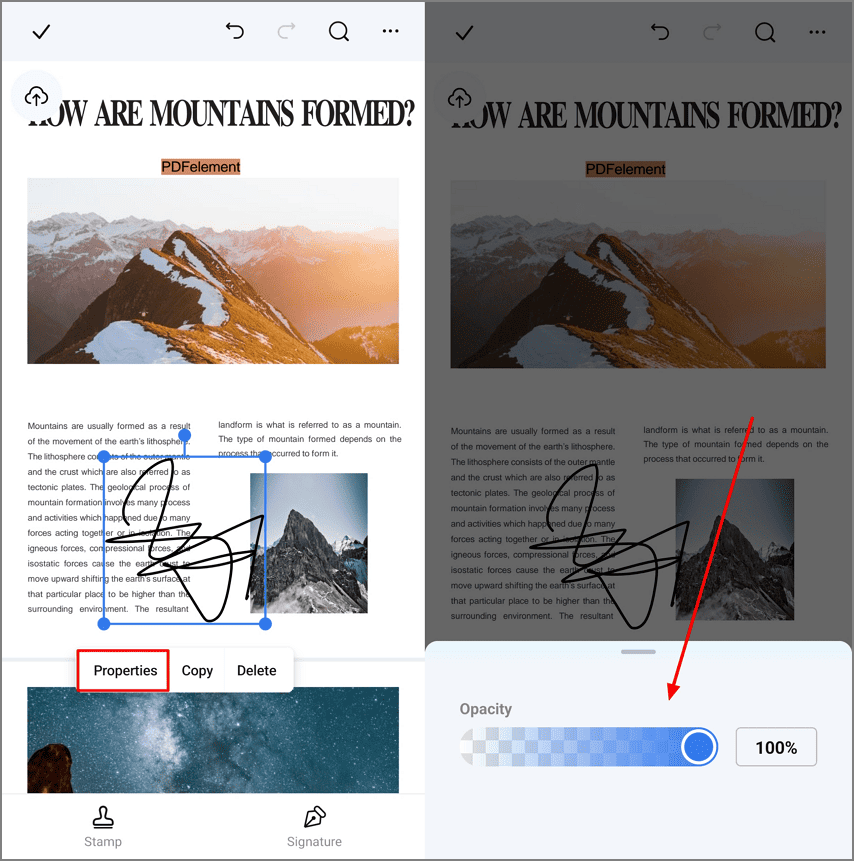
Step 3. Adjust Signature Opacity in PDF
With the signature added in the PDF, tap on it to view a pop-up bar, from where you need to tap on “Properties.” As a new pop-up window opens, adjust the “Opacity” of the signature from there.