How to Add Watermark to PDF on Mac
Adding watermarks to PDF pages is a great way to declare your ownership. With the help of PDFelement for Mac, you can easily add/update/remove watermarks from PDF pages. What's more, PDFelement supports tiling watermarks.
1. Add Watermark to Single PDF
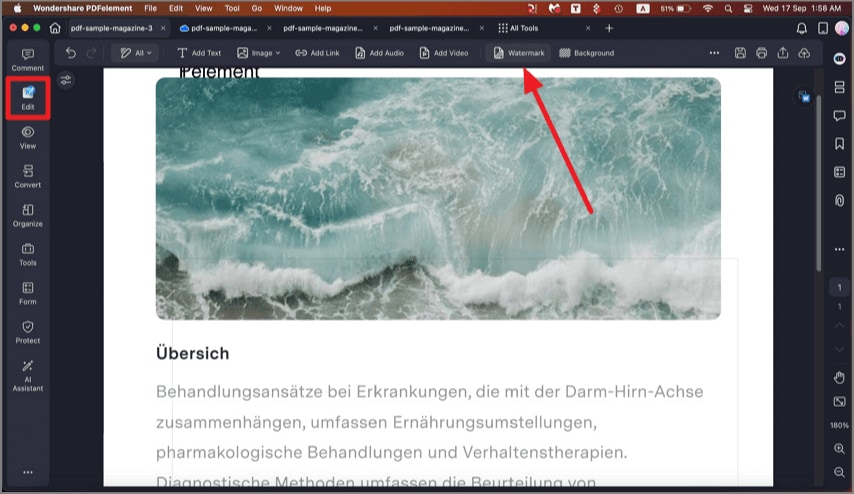
Step 1. After opening the document in the tool's interface, head to the "Edit" option from the left and click on the "Watermark" option from the top toolbar.
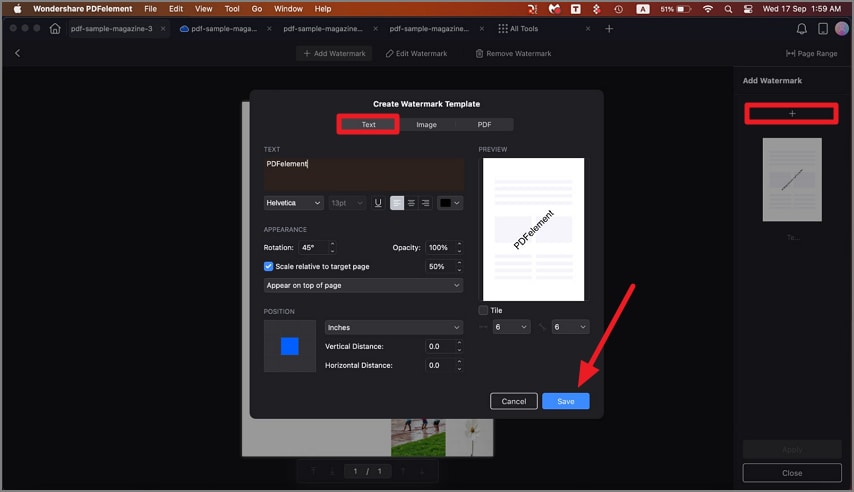
Step 2. Enable the "Add Watermark" section and press the "+" button from left. Next, choose the type of watermark you want to add from the options provided. For text watermark, enable the "Text" section and configure settings. Press the "Save" button to apply changes.
Step 3. Select the "Image" tab in the pop-up dialog and click the "..." button to choose an image on your Mac as the watermark, and click "Save". You can also change its appearance and position.

Step 4. Select the "PDF" tab in the pop-up dialog, and click the "..." button to select a PDF file. Next, enter the page number to select a specific page as a watermark. You can also change its appearance and position.

Step 5. Click the "Apply" button after you finish editing the watermark to apply the watermark to your file.

2. Delete Watermark from PDF Pages
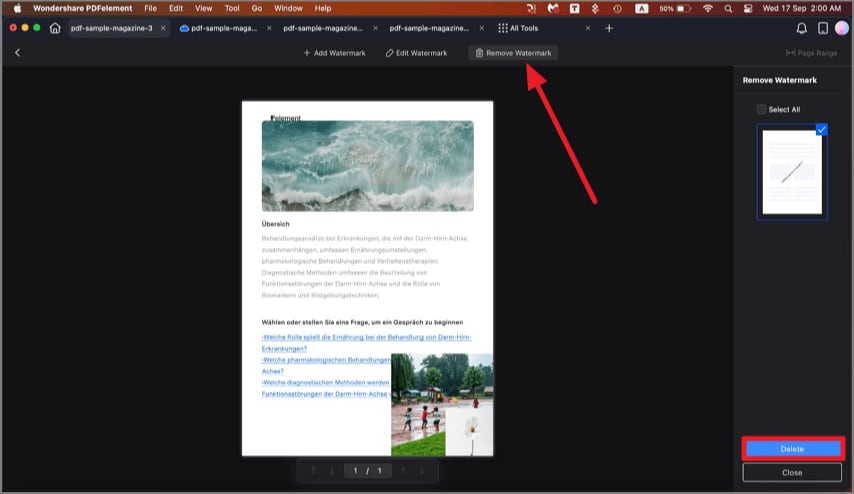
Head to the top bar and click on the "Remove Watermark" option. Press the "Delete" button from the bottom right corner and hit the "Yes" button.
3. Batch Watermark Process
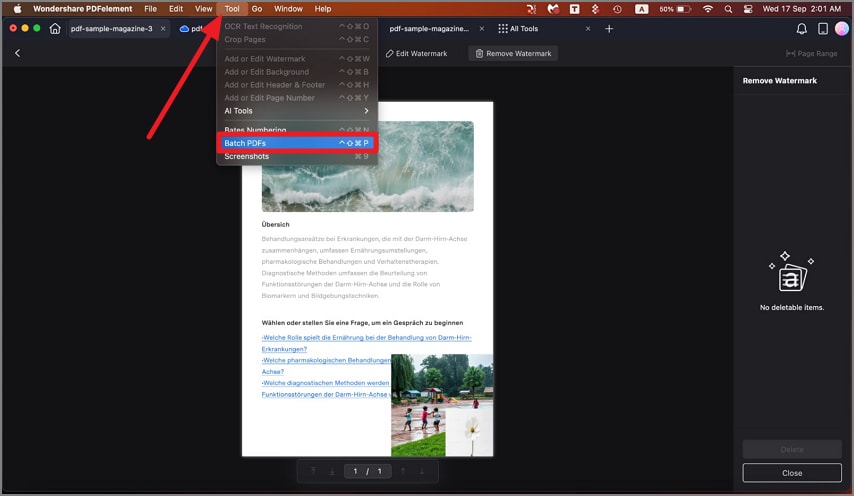
Step 1. To begin, access the "Tools" option from the top menu bar and click on the "Batch PDFs" option.
Step 2. Add multiple PDF files in the program through drag-and-drop or choosing the files from the finder.
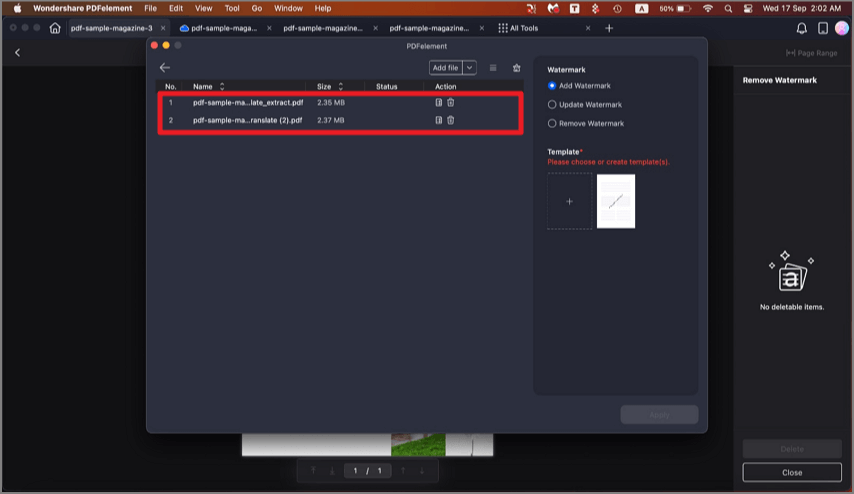
Step 3. Choose existing watermark(s) on the right side, click the "+" button to create a new watermark template to add to the PDF files, and click "Save". Select the destination folder to save the output files.

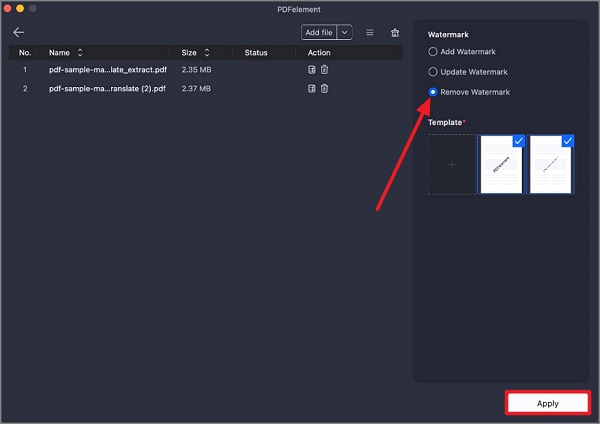
4. Batch to Delete Watermark
To remove the watermark in batch, click on the "Remove Watermark" radio button located on the right and press the "Apply" button.