How to Batch Sign on Windows
Batch Sign lets you apply digital or handwritten signatures to multiple PDFs simultaneously, streamlining the signing process. With PDFelement’s Batch Sign functionality, you can create your signature once and load several PDFs to sign in one go. This feature saves time and effort by eliminating the need to sign each document individually. Follow the steps mentioned below to learn how to use this utility for signing your documents:
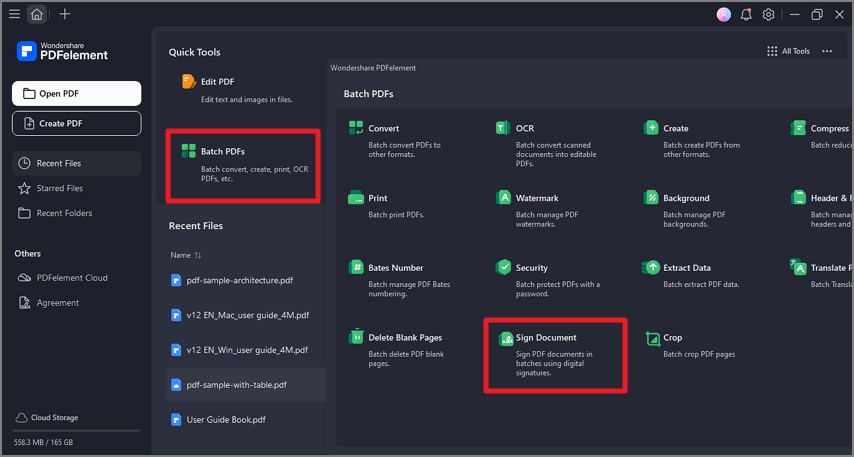
Step 1
Start by launching PDFelement on your Windows and click on the “Batch PDFs” option located on the homepage. Next, locate the “Sign Document” option and press it to enter the following interface.
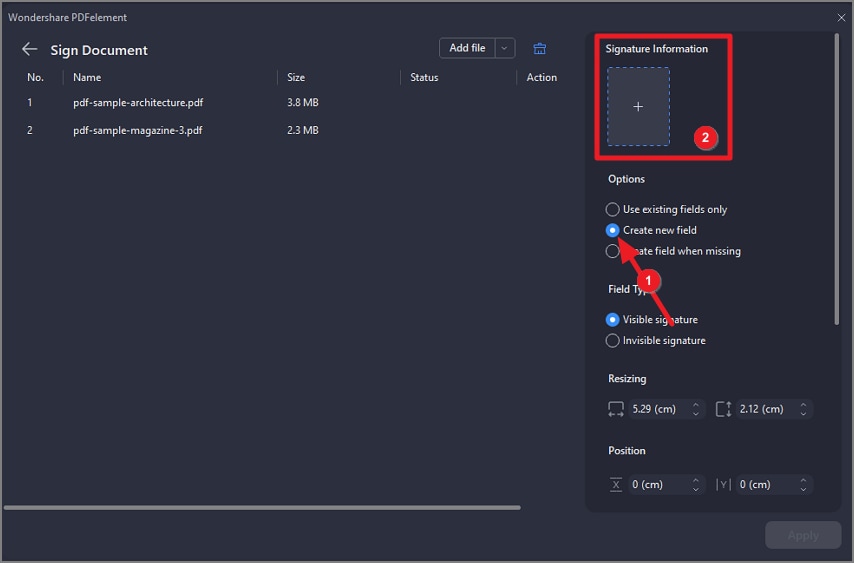
Step 2
In the next interface, click on the “Add Files” button to import your documents to the tool. Now, head to the right side of the interface and select the desired “Option” such as “Create New Field.” Click on the “+” icon located under the “Signature Information” section to add a signature.
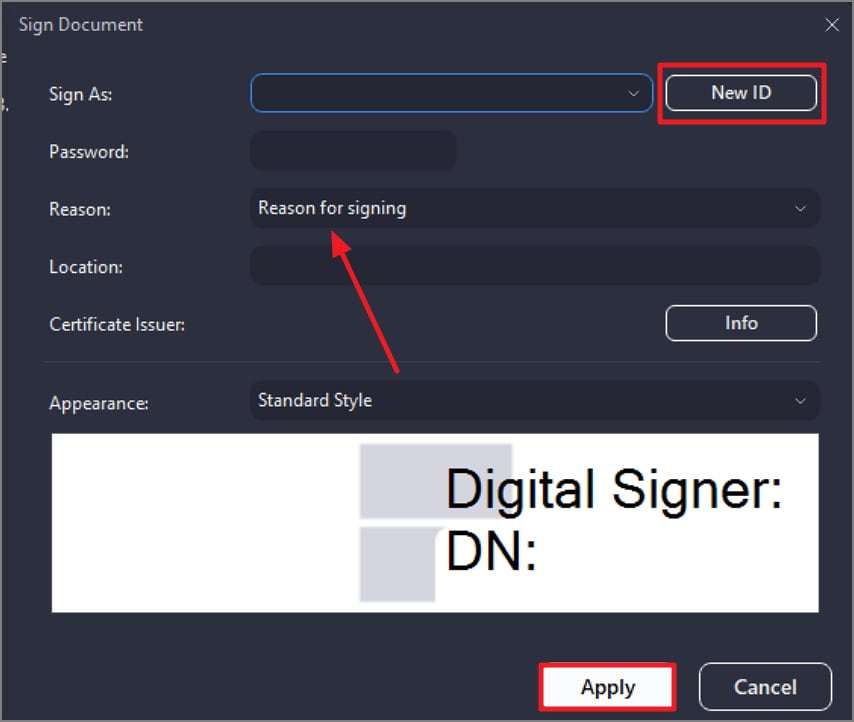
Step 3
Create a new Signature ID by pressing the “New ID” option or use an already existing Signature ID. Give the reason for the signature and press the “Apply” button.
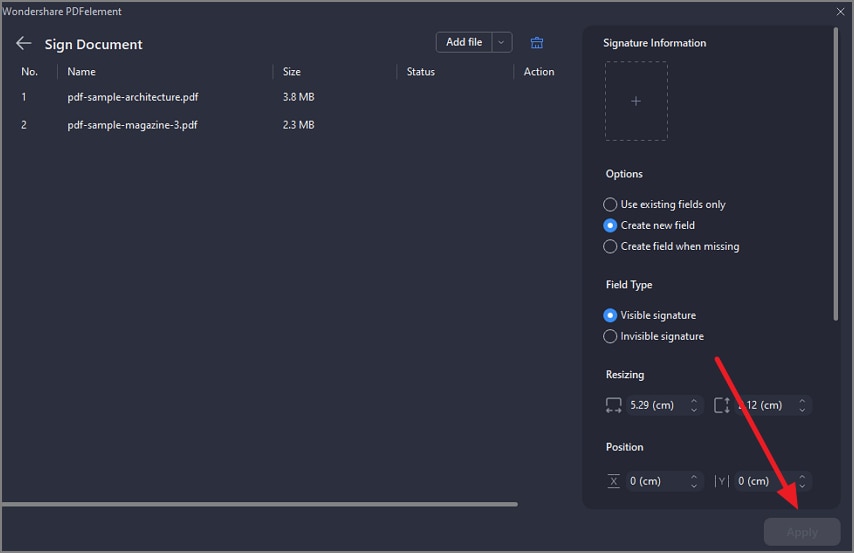
Step 4
Once you enter the previous screen after inputting the signature requirements, access the panel on the left. Adjust the size and position of the signature along with the placement. Finally, hit the “Apply” button to apply the digital signature on the specified pages.