How to Edit Image in PDF on Mac
Editing images within a PDF on Mac using PDFelement is a straightforward process that allows extensive control over visuals embedded in your document. PDFelement provides tools to rotate, resize, crop, and replace images directly within the PDF, eliminating the need for external image editing software. Additionally, it includes an AI-powered image editing feature that automatically enhances images. To learn how to modify a picture within the PDFelement for Mac interface, read the steps mentioned below:
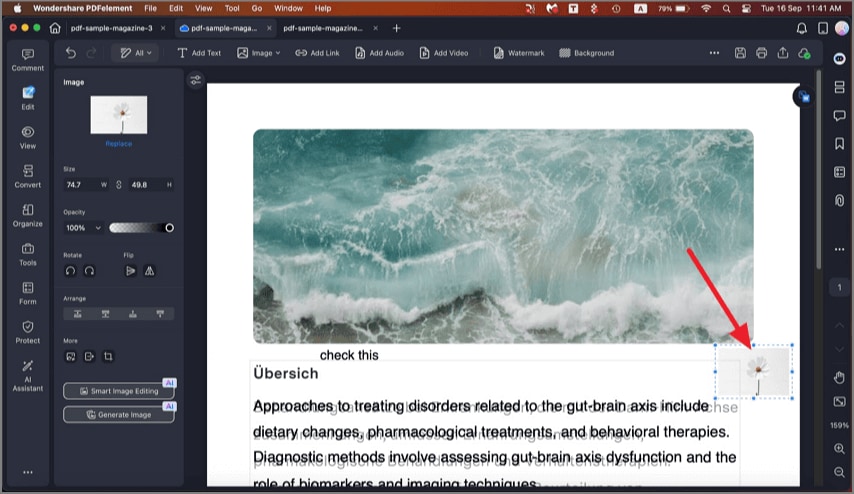
1. Add Image
Step 1. Start by importing the document to the tool’s interface and press the “Edit” option from the sidebar on the left. Next, head to the top toolbar and click on the “Add Image” option. Now add the picture you want to insert from your device’s storage.

Step 2. Once the image is added, position it on the page according to your preferences.
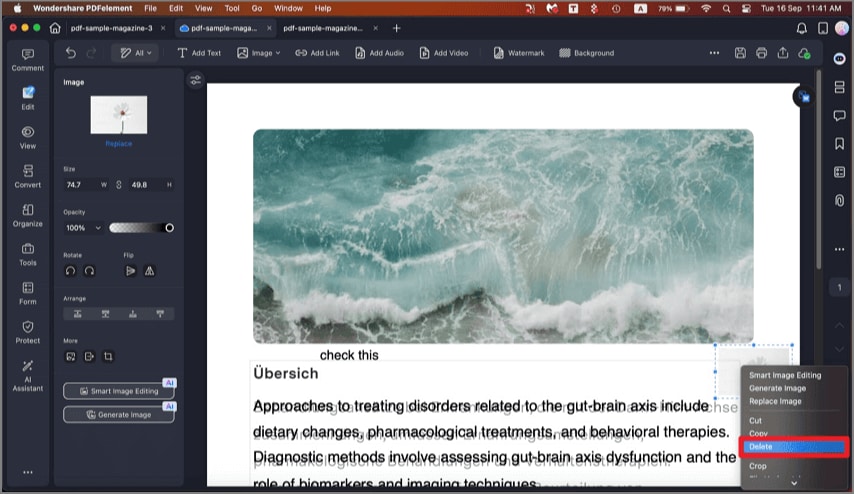
2. Delete Image
To remove the added picture, right-click on it and choose the “Delete” option to successfully delete it.
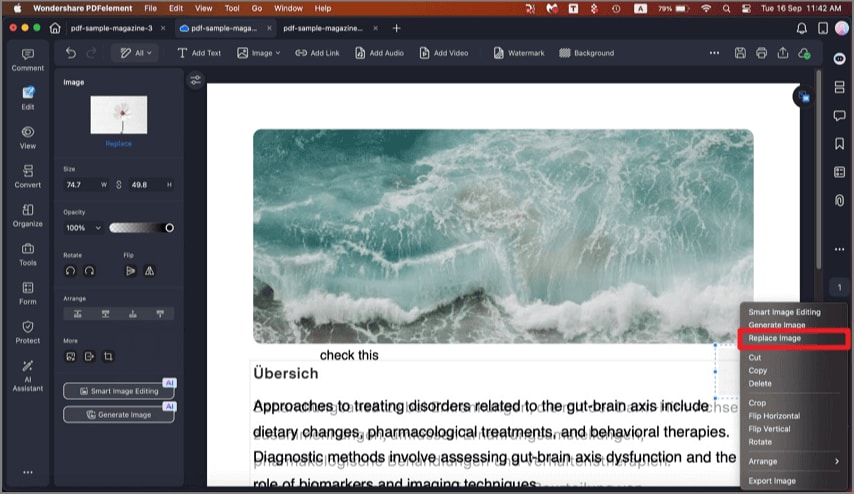
3. Replace Image
Right-click on the added picture and press “Replace” from the expanded list. Choose the picture from your device’s storage and add it to your document.
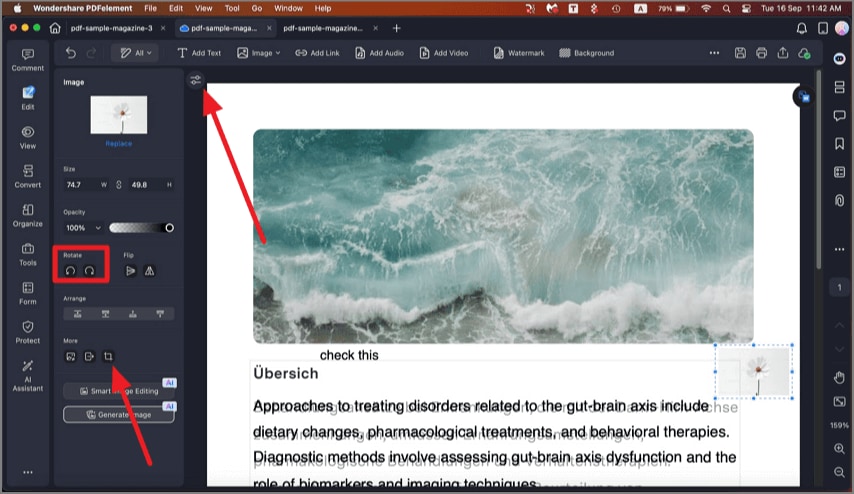
4. Crop and Rotate
Access the “Properties” panel on the left and choose the rotation option clockwise or anti-clockwise from the options provided. To remove the unwanted area of the added picture, click on the “Crop” icon located within the panel.
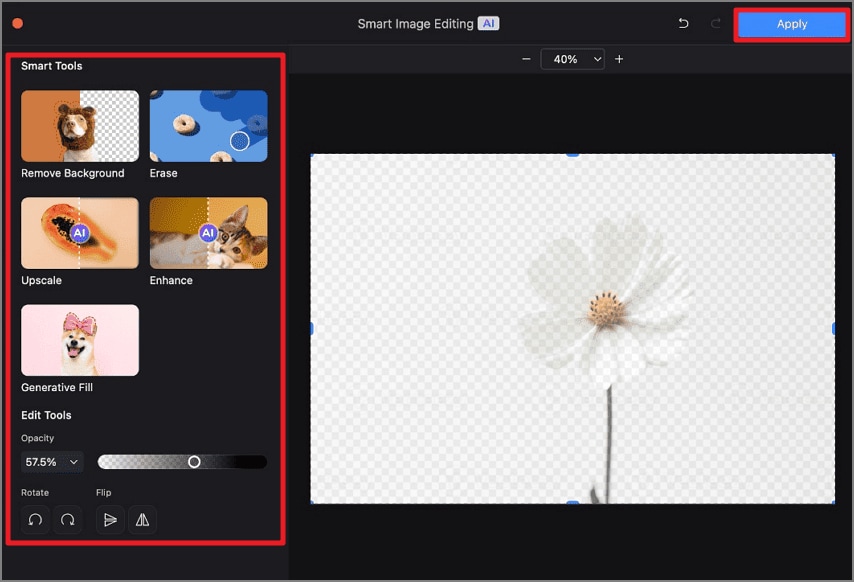
5.AI Image Editing
Step 1. To perform automated image editing, click the “Smart Image Editing” button located within the Properties panel to proceed.
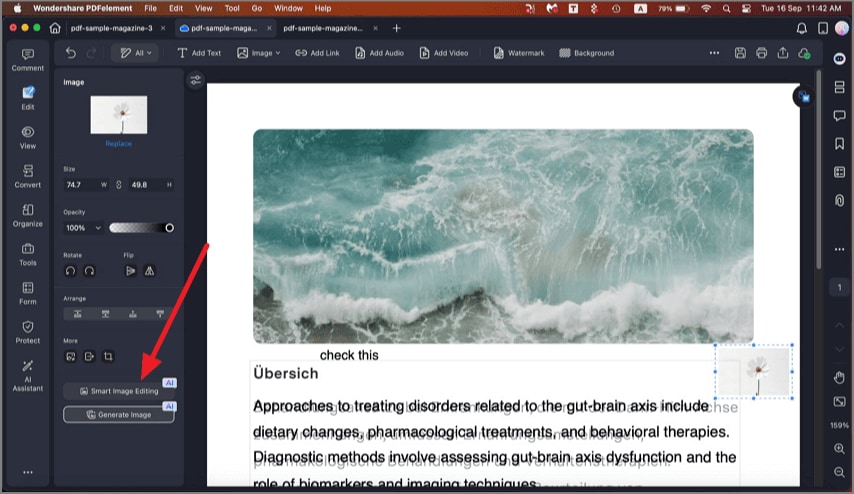
Step 2. In the following window, choose the enhancement options according to your needs. You can also change the paucity and flip the image by choosing the designated options. Finally, click on the “Apply” button to save the changes.