
How to make a cross-page seal on Mac
PDFelement for Mac allows users to protect their documents from copyright infringements by adding a seal using the Cross-Page Seal feature. This feature lets you add images at a specific position on each page of the document. You can specify the position and orientation of the seal and also choose on which page you want to apply that seal.
Step 1. When the document is successfully imported, head to the left sidebar and press the "Tools" option from there. Now, locate the "Cross Page Seal" option and click on it.
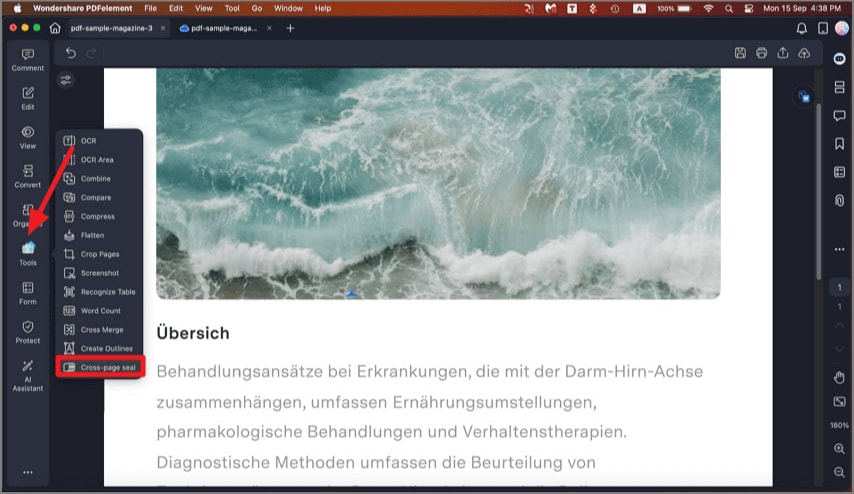
A screenshot of the tools menu highlighting the cross-page seal feature.
Step 2. In the following interface, click the "Add" button to add the image you want to insert as a seal.
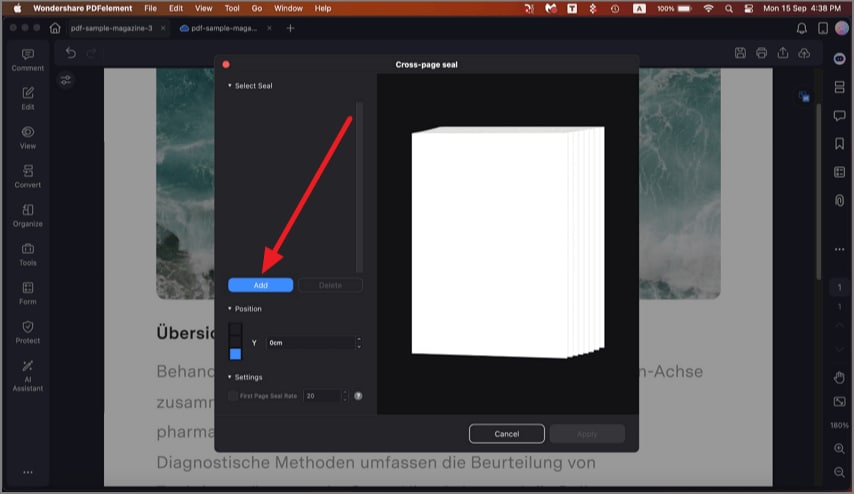
A screenshot of the cross-page seal interface showing the image adding button.
Step 3. Once the seal is added, choose the position and press the "Apply" button to successfully save the results.
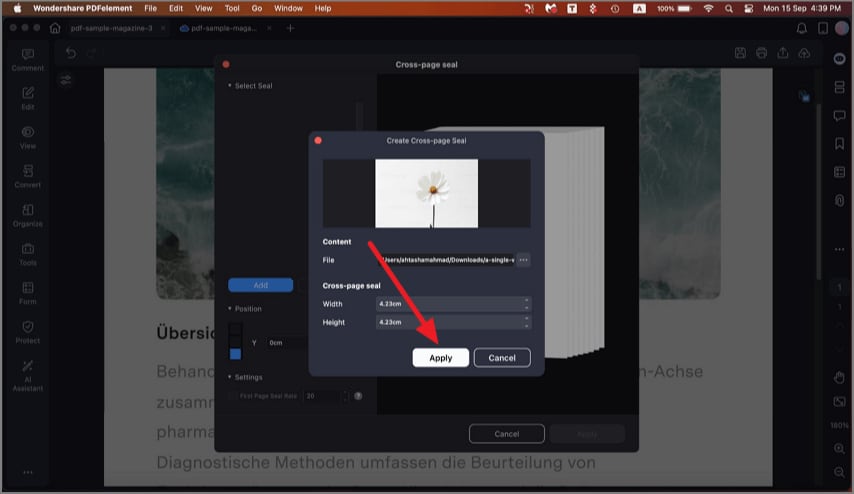
A screenshot of the settings showing a seal positioned and applied on a page.