
How to Record a PDF Screen
Use the built-in recorder to capture any region of your PDF, with options for system/mic audio and quick annotations. Follow these steps to record efficiently.
1. Choose Screenshot Tool
- Open your PDF, go to the left sidebar and click Tools, then select Screenshot.
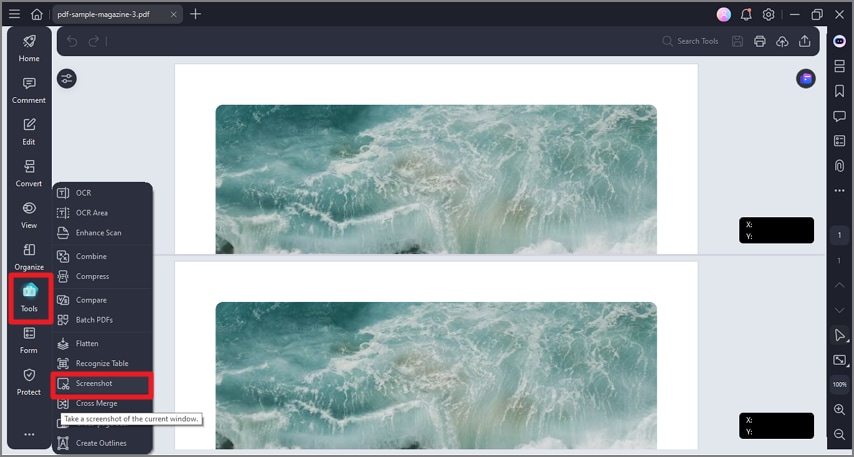
A screenshot of the Tools panel highlighting the Screenshot feature.
2. Open Screen Recording
- From the top-right options, select Screen Recording to switch to recording mode.
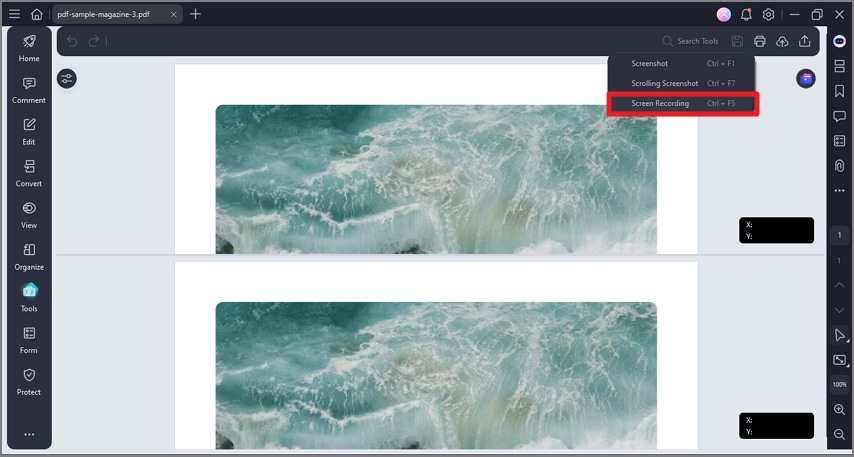
A screenshot of the Tools panel showing the Screen Recording option.
3. Select Area & Start
- Drag to select the capture area and adjust settings in the floating toolbar. Click the red Record button to start.
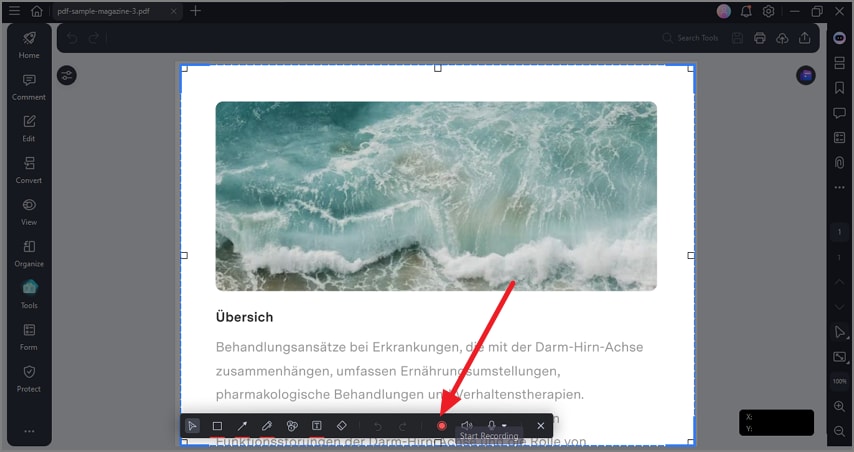
A screenshot of the screen recording interface showing an area selection in progress.
4. Stop & Save
- Click Stop to end recording. The video is saved automatically; click Open Folder in the dialog to locate it.
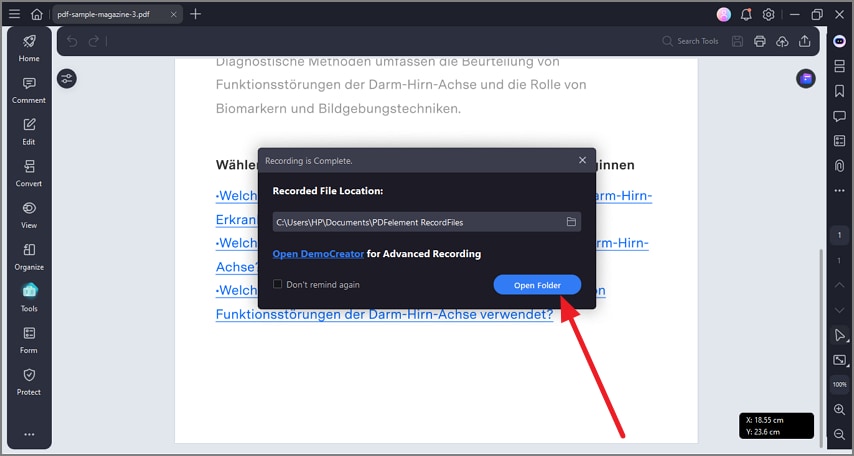
A screenshot of a file explorer window displaying the folder containing recorded videos.