Work Smarter with PDFelement User Guide


-
Introduction
-
Get Started
-
Create & Open PDF
-
View & Navigate PDF
-
Edit PDF on iOS
-
Convert PDF on iOS
-
Organize PDF on iOS
-
Annotate PDF on iOS
-
Recognize PDF
-
Protect PDF on iOS
-
Fill & Sign PDF
-
Compress PDF on iOS
-
PDF AI Tools on iOS
-
Print PDF on iOS
-
Share PDF on iOS

If you are on the go and want to protect your critical documents from data breach, you can protect it by applying a password right from your iOS device. With PDFelement for iOS, you get the ability to add passcode and refrain viewers from making changes to the content. You can apply an open password as well as permission password to the document for different levels of protection.
Moreover, you can apply different encryption levels depending on the sensitivity of your information. Users also get the ability to restrict users from editing the document or even printing it. If you want to learn how to protect your PDF file with password on your iOS device, read the steps mentioned below:
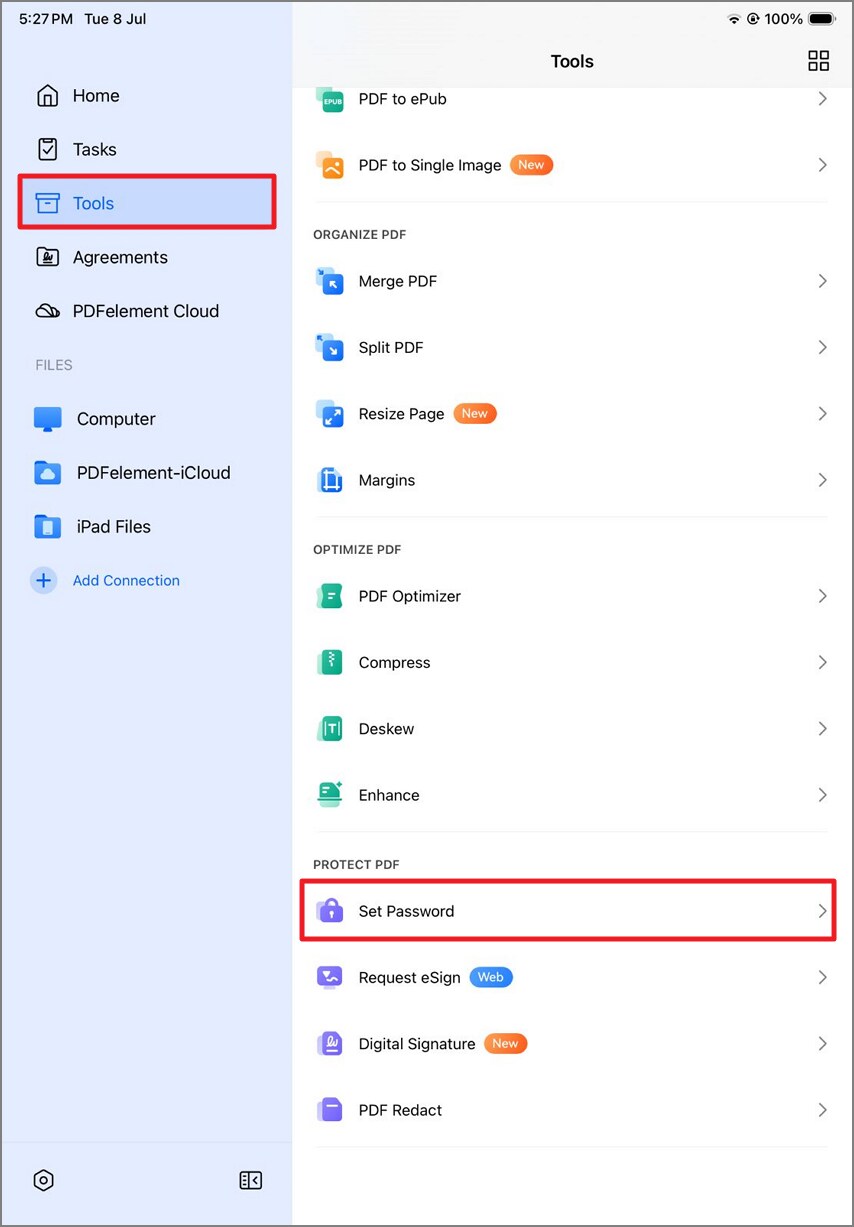
Step 1. Choose the Set Password Option
Begin the process by launching PDFelement on your iOS device and accessing the “Tools” section from the homepage. Next, tap on the “Set Password” option to proceed with the process after importing the document.
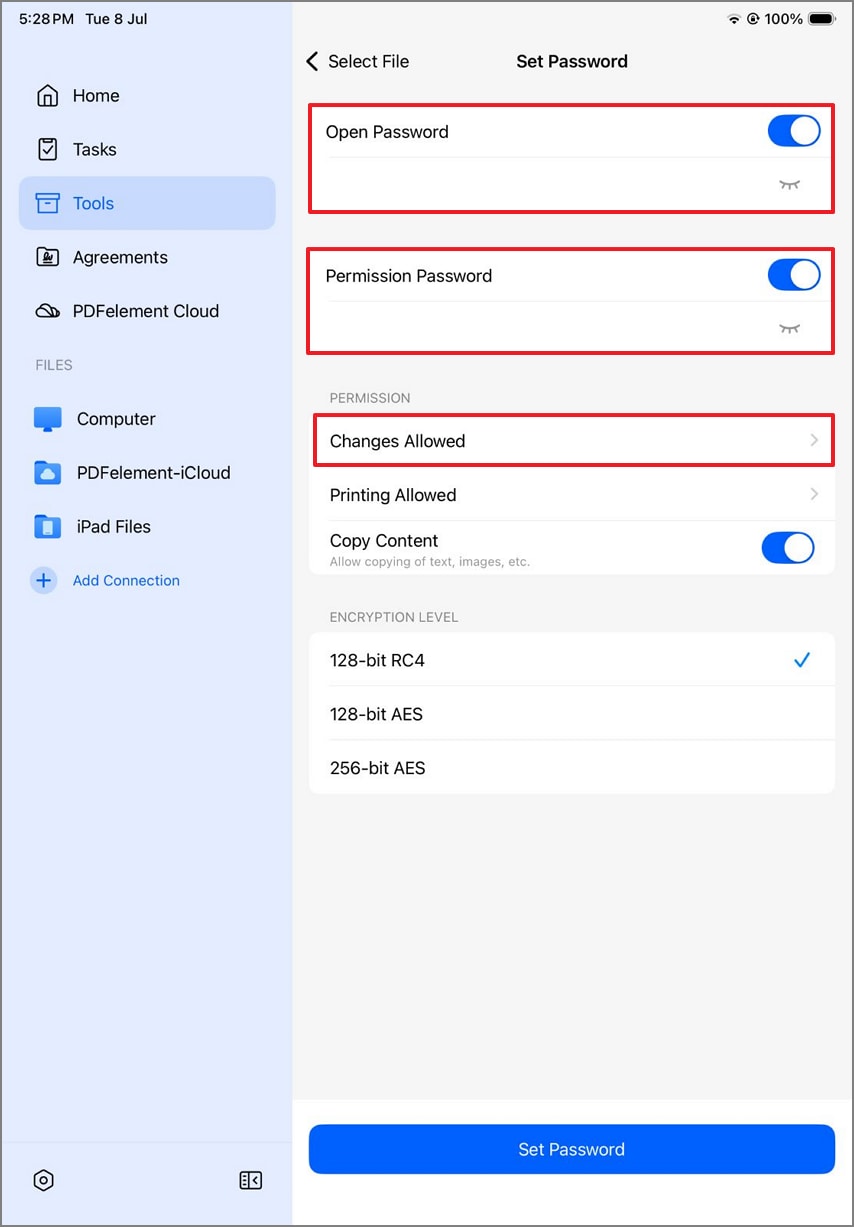
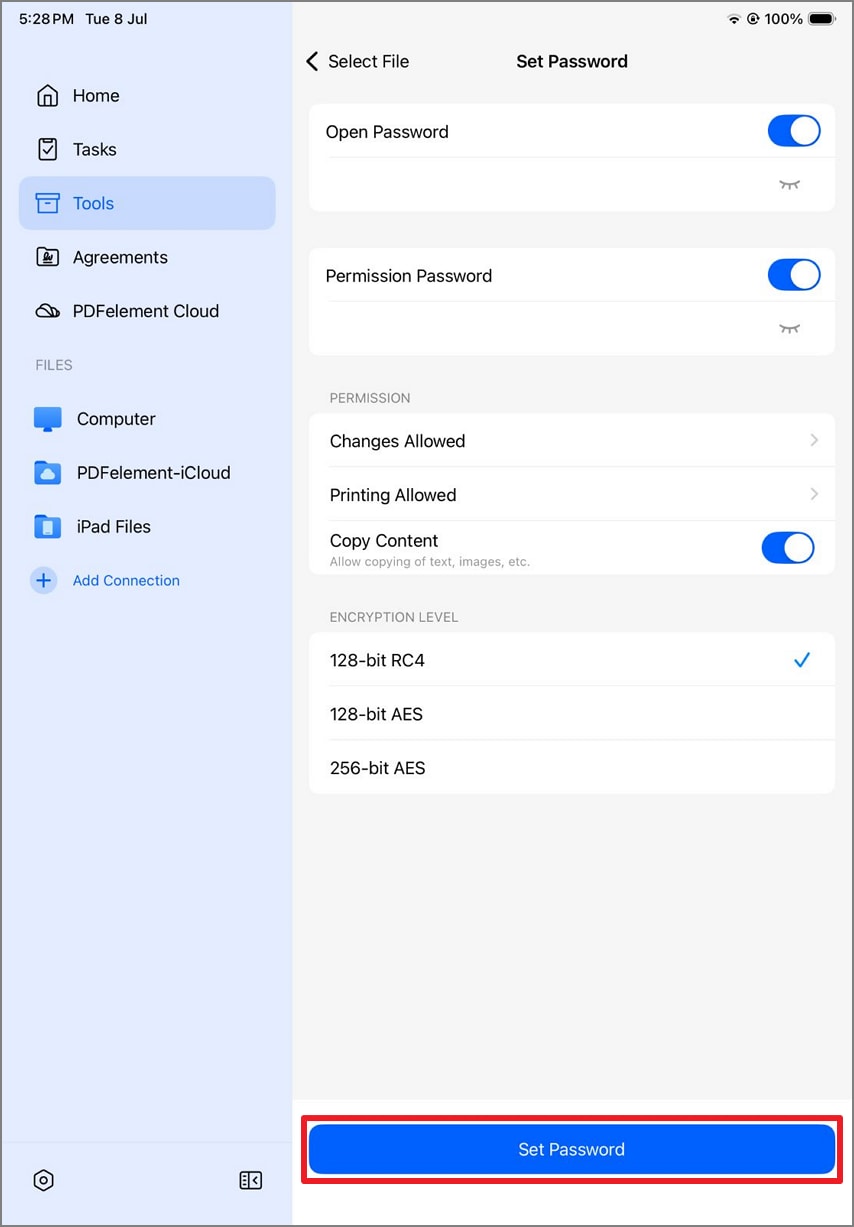
Step 2. Select the Type of Password for your Document
In the following interface, turn the toggle on for “Open Password” and “Permission Password” according to your preferences. Input both the passcodes in the designated fields and tap on the “Changes Allowed” to restrict the users from specified changes.
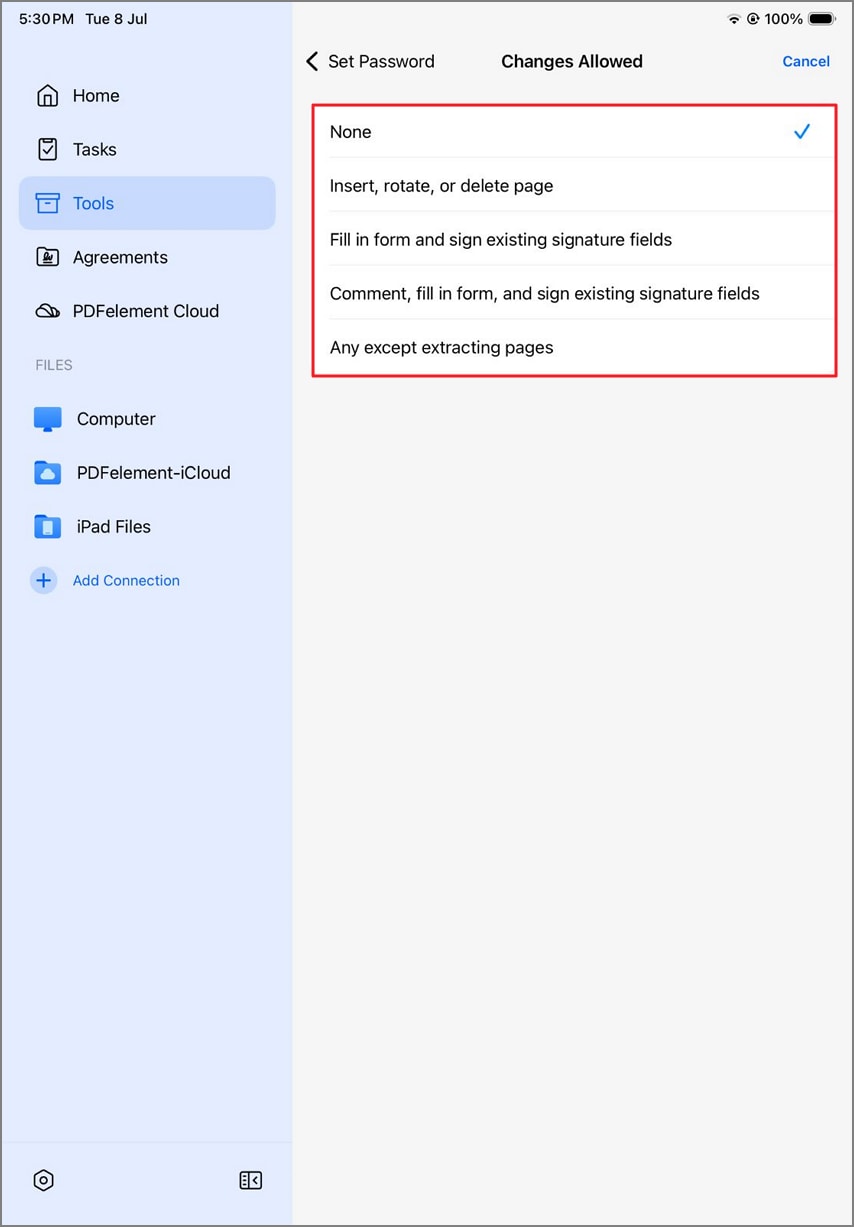
Step 3. Specify the Allowed Changes
Choose the changes you want to allow the viewer to make by tapping on the desired option.
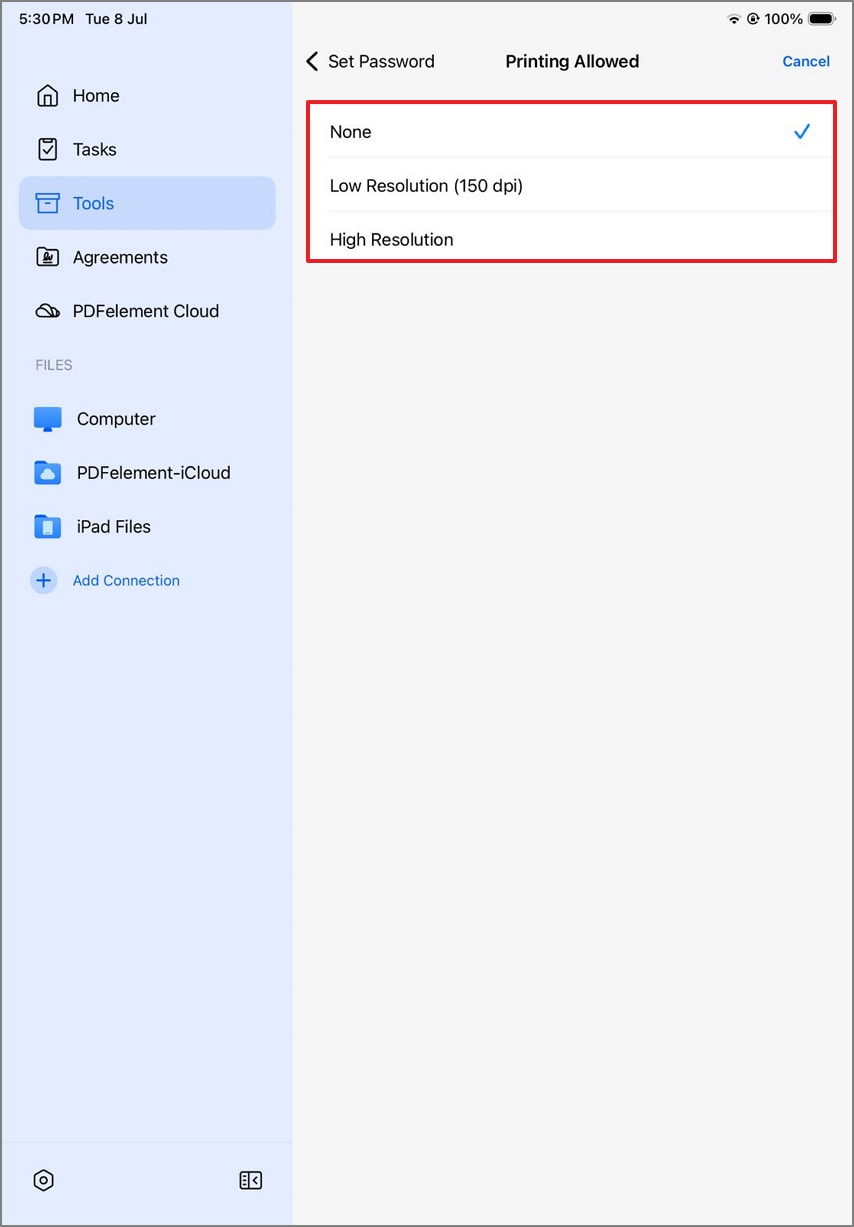
Step 4. Select Printing Option
Next, opt for the printing options you want to allow to the viewer by pressing the preferred choice.
Step 5. Set the Password for Your Document
Once the settings are configured, tap on the “Set Password” button to protect your critical document.
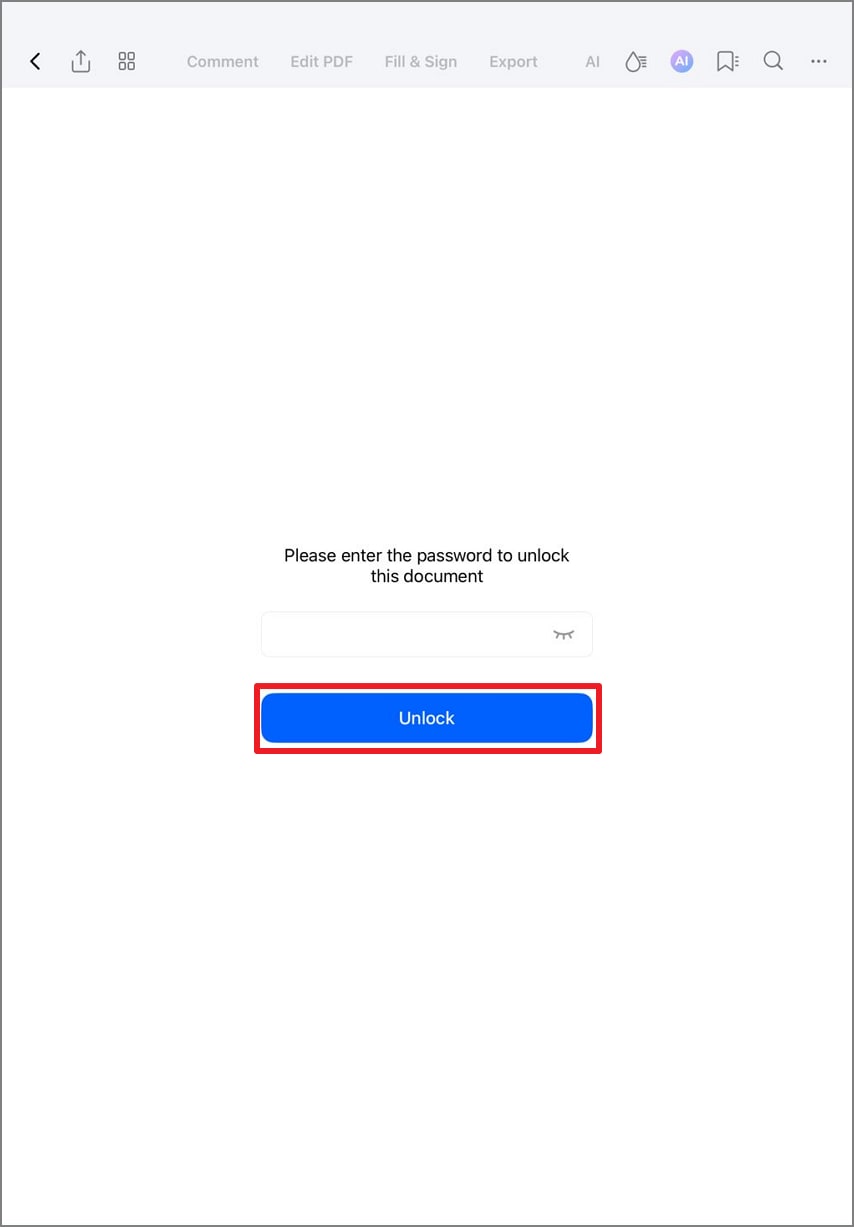
Step 6. Unlock the Document
To access the document again, input the set password and press “Unlock.”