How to sign PDF
You can sign PDF with digital signature or handwritten signature using PDFelement.
1. Digital signature
A digital signature acts as a traditional handwritten signature that can be used to authenticate the identity of a user as well as the document content. It stores information about the signer along with the date, time, and state of the document when it was signed.
About digital ID
Digital ID is the identity of a person/organization, which contains your name, email address, serial number, expiration date, and the name of the company. A digital ID contains two keys, one is a public key (certificate) that is used to encrypt or lock data, and the other is a private key that is used to decrypt or unlock data that is encrypted.
You can distribute the certificate that contains the public key and other identifying information to those who need it to verify your identity, validate your signature, or encrypt a document for you. Only your private key can unlock information that was encrypted using your certificate. For security purposes, make sure to store your digital ID in a safe place.
Sign a PDF
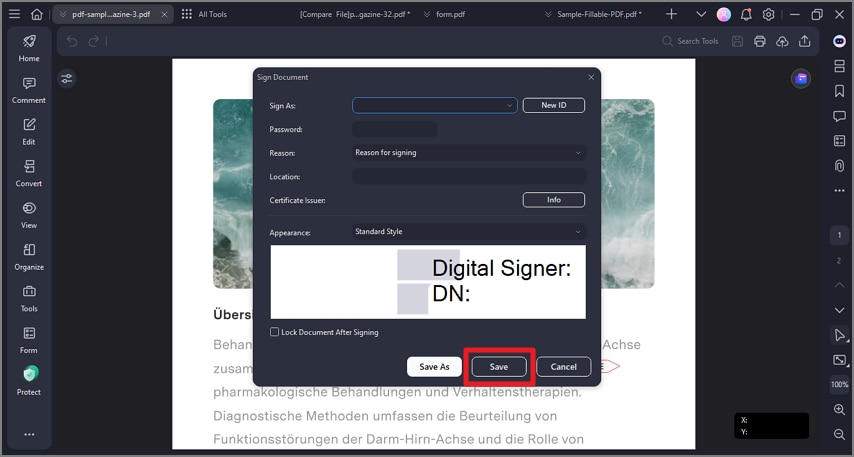
Open a PDF that already has the Signature field and click the "Protect" > "Sign Document" button, then choose your ID to sign.
Create a signature
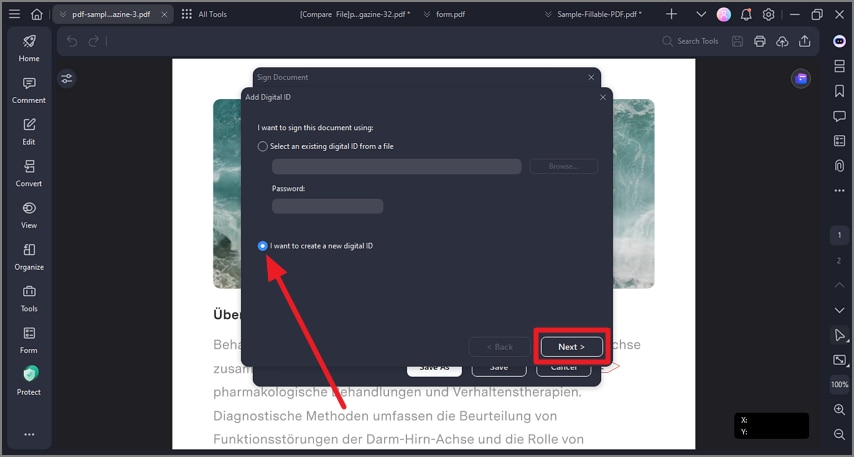
If you do not have an ID yet, click on the "New ID" button, select the "I want to create a new digital ID" option, and then click the "Next" button.
- New PKCS#12 digital ID file—Stores the digital ID information to a file with the extension .pfx on Windows and .p12 on Mac OS. You can use the files interchangeably across different operating systems.
- Windows Certificate Store—Stores the digital ID to a common location. Other windows applications can also retrieve it.
Validate and clear signature
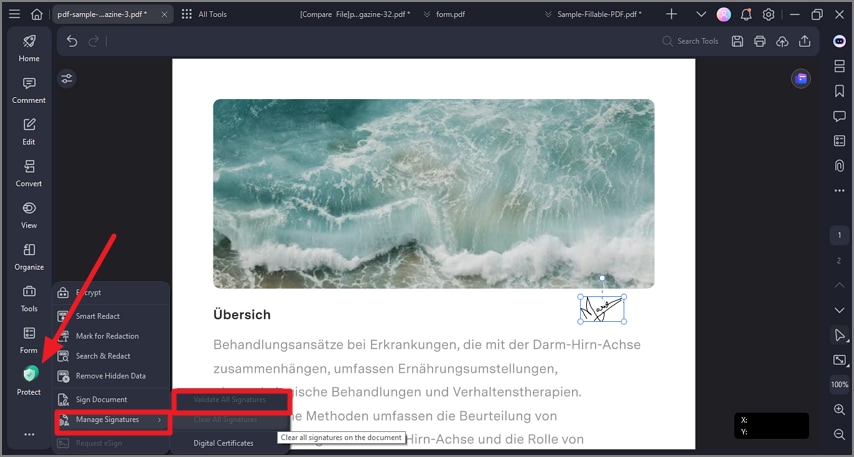
To validate the signatures, please click the "Protect" > "Manage Signatures" > "Validate All Signatures" button, it will pop up a Signature Validation Status message box which describes the validity of the signature.
To remove the signatures, please click the "Protect" > "Manage Signatures" > "Clear All Signatures" button, which will assist you in removing all of the digital signatures within a PDF file.
2. Handwritten signature
The signature feature allows you to sign PDF with a handwritten signature, including uploading an image signature, drawing a signature, and typing a handwritten signature.
Sign PDF
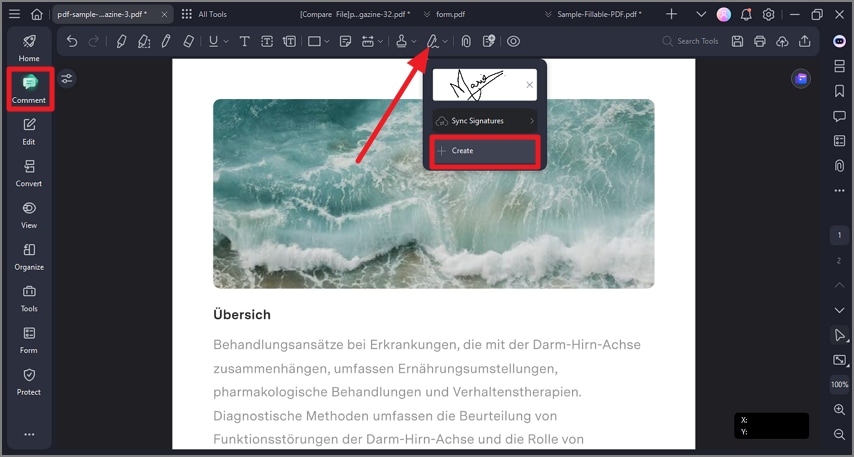
Click the "Comment" > "Signature" button, and tap on the "+ Create" button to create your handwritten signature.
Create handwritten signature
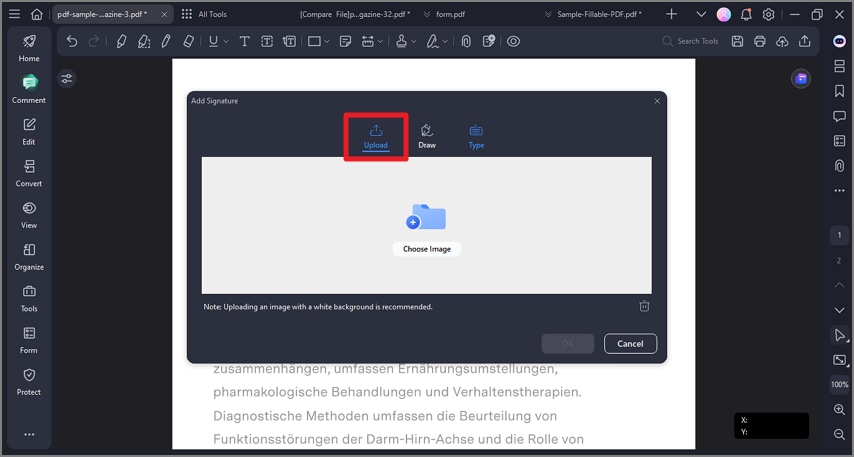
There are three options for adding a handwritten signature, including "Upload", "Draw", and "Type".
- Tap on the "Upload" tab, and click "Choose Image" to upload an image signature saved on your computer. After uploading the image, click the "OK" button.
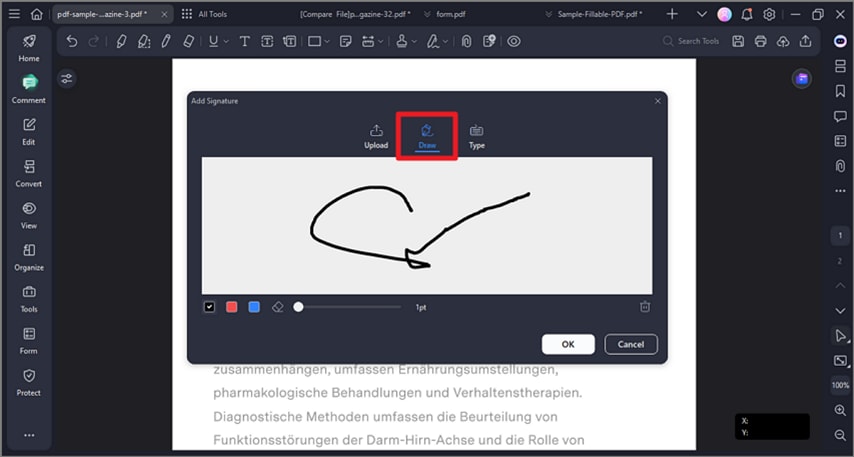
- You can draw your name directly under the "Draw" tab. Also, you can select the color of the signature as you like.
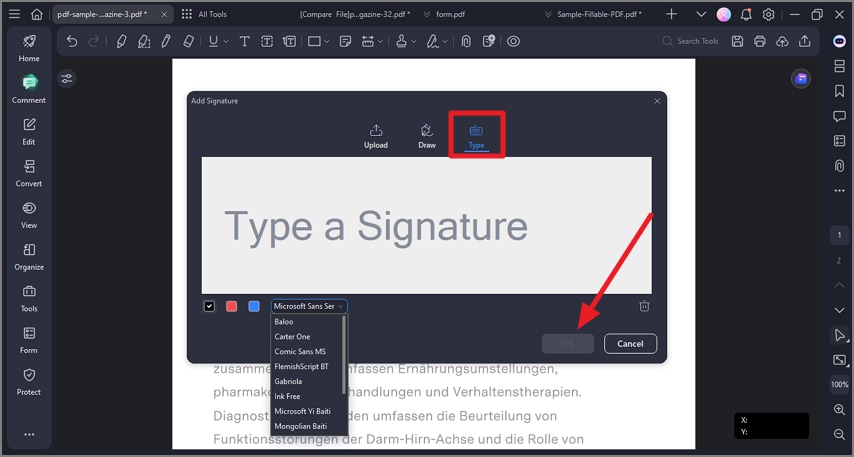
- Click the "Type" button, and enter your signature to create your handwritten signature. You can select one of the fonts from the fonts list and choose a color, and then click the "OK" button.
3. Sign PDF Agreement
If someone used PDFelement's Request eSign feature to send you an agreement for signing, you receive an email notification with a link to sign the agreement. Also, if you use PDFelement desktop application, you see an agreement waiting for your signature in the Agreement panel.
Whether you're using the PDFelement desktop application or signing via an email link, follow these straightforward steps to ensure smooth and efficient agreement execution:
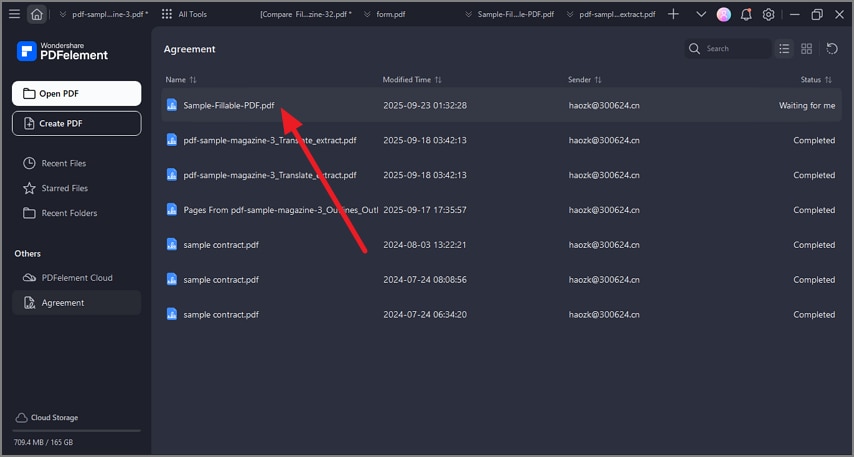
Sign PDF agreements using PDFelement desktop application
- Launch PDFelement on your computer and simply navigate to the Agreement panel. Double-click on the agreement labeled as "Waiting for me" to initiate the signing process.
- Click the "Sign" tag to direct you to the signature fields and the other fields which require you to enter any requested information.
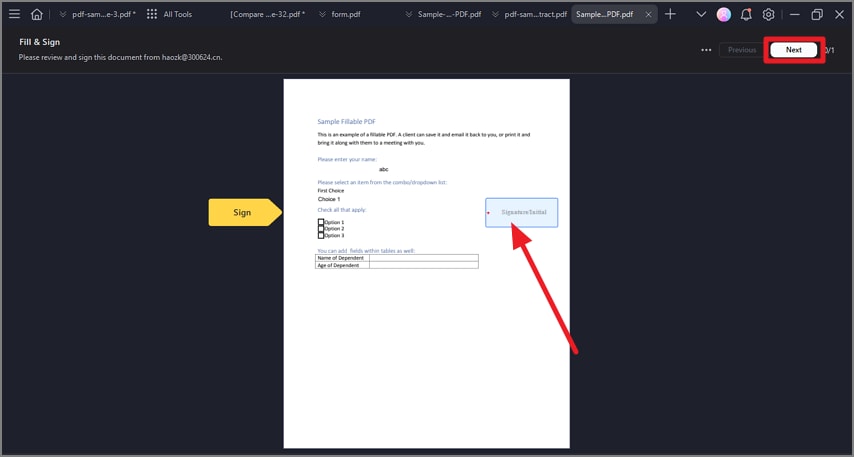
- Select the signature field, then choose your preferred signature method:
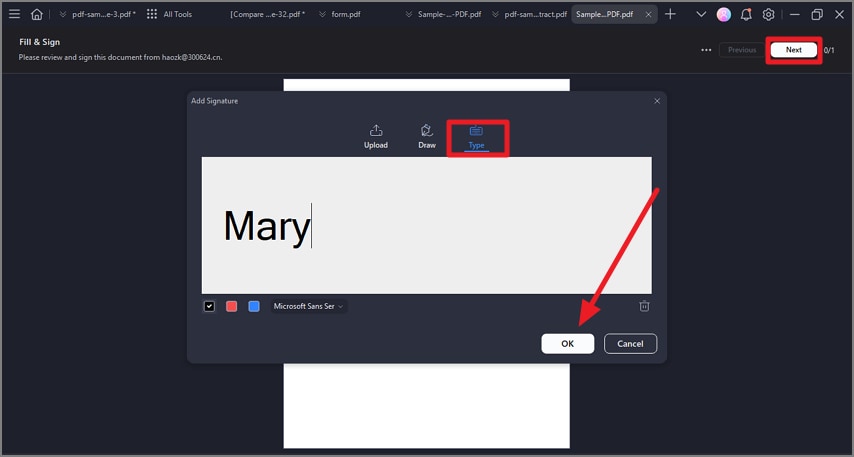
- Upload: Import an image of your signature.
- Draw: Draw your signature in the field.
- Type: Input your name, with options for font color and style.
- Click "OK" to apply your signature.
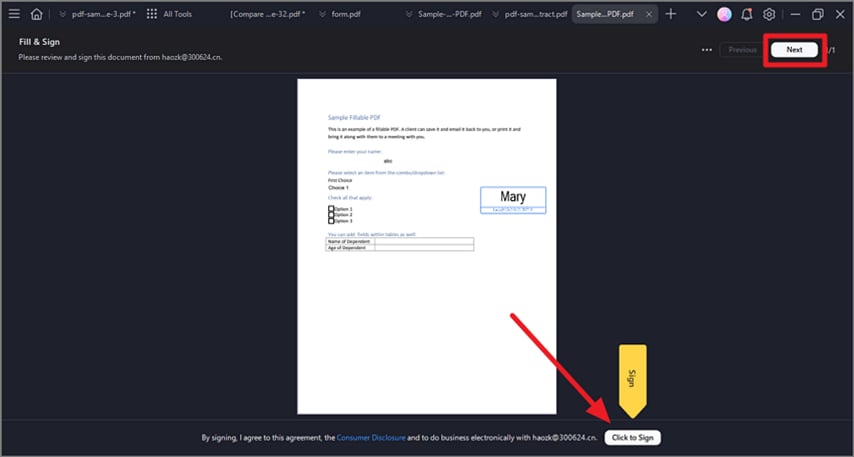
- At the bottom of the interface, a notification will confirm your agreement to its terms and the Customer Disclosure to do business electronically with the sender. Click the "Click to Sign" button and "Next" to complete the process.
Sign PDF agreements using the email link
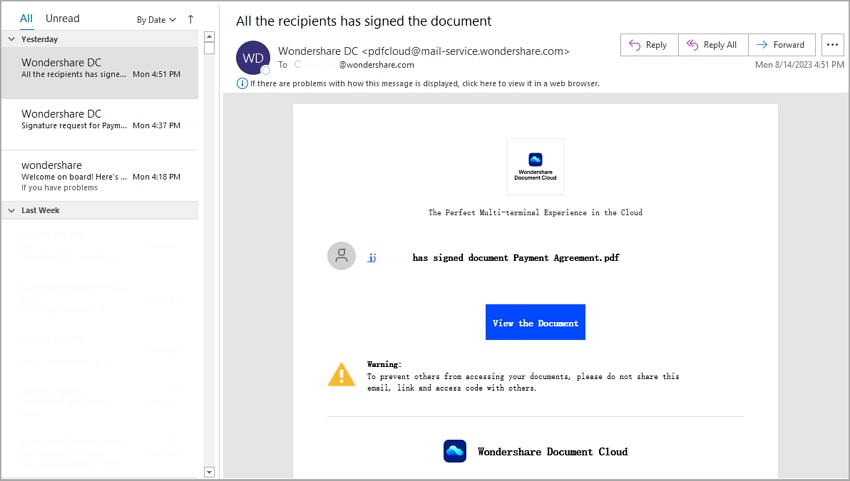
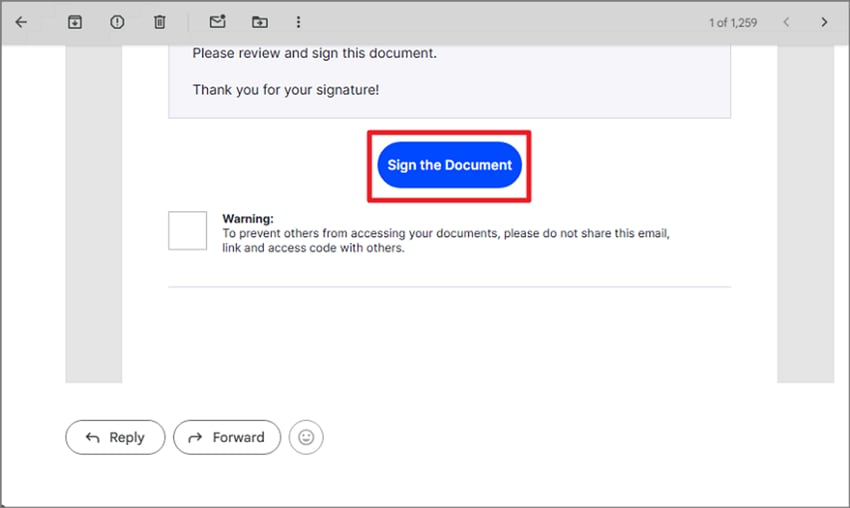
- Access the agreement from the notification email and click the "Sign the Document" button.
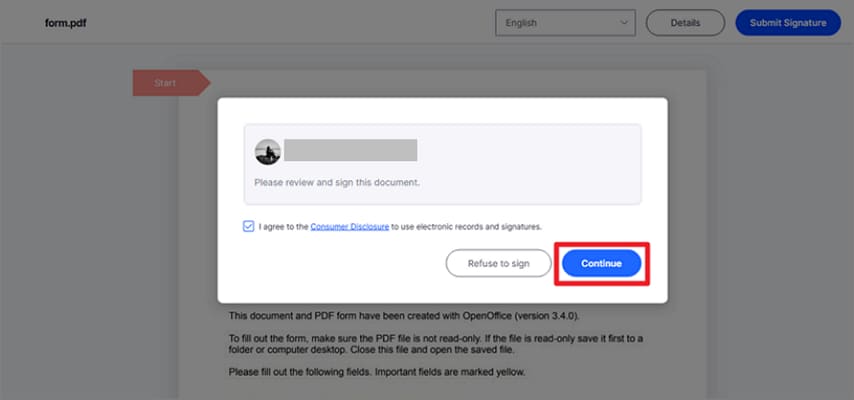
- Check "I agree with EULA and Privacy to use electronic records and signature," and click "Continue."
- Click the "Signature/Initial" field.
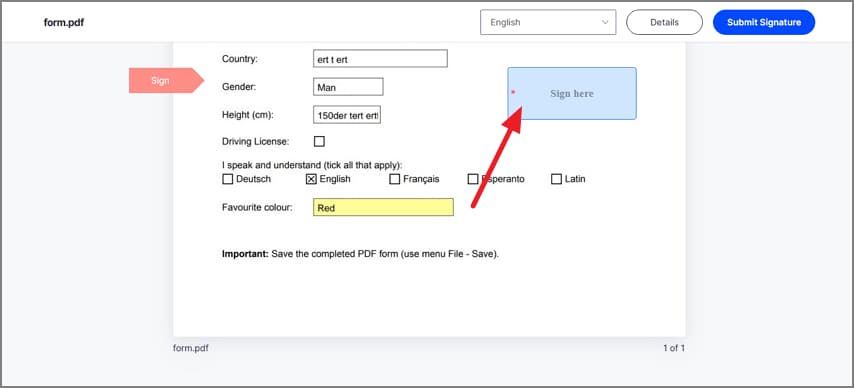
- For first-time users, create a signature using one of three methods:
- Type: Type your name in the field with signature color options.
- Upload: Browse and select an image of your signature.
- Draw: Draw your signature in the field.
- Click "Save." The signature will be applied to the agreement and the added signature is saved securely in Wondershare PDFelement Cloud for further use.

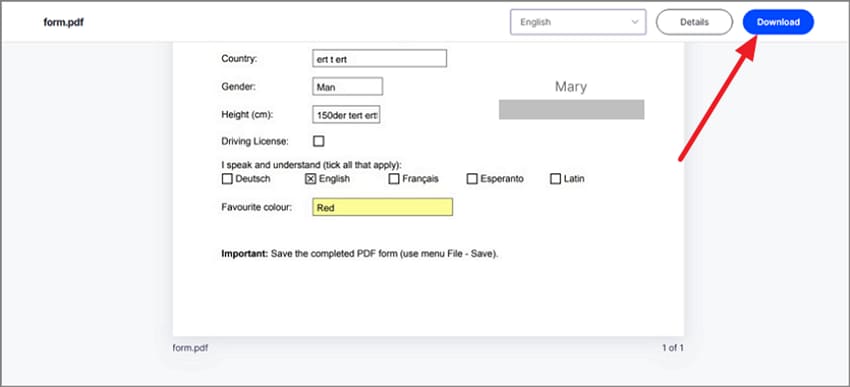
- Click "Download", and select an option:
- Only PDF: Download the agreement;
- Download PDF and Audit Report package: Download both the agreement and the audit report in a zipped file;
- Download PDF and Audit Report combined file: Download the agreement and the audit report as a combined PDF file.
- Upon all parties signing the agreement, you will receive an email with access to the fully signed document.