
In this article
- What "Resizing a PDF" Actually Means
- Quick Answers: Common Resize Goals
- Method 1—Resize the Entire PDF in PDFelement (Step-by-Step)
- Method 2 — Batch Crop PDF Pages (Uniform Trims at Scale)
- Method 3 — Precision with Page Boxes (CropBox, BleedBox, TrimBox, ArtBox)
- Method 4 — Change or Add Page Margins
- Choose the Right Approach (Comparison Table)
- Keep Quality Intact: Scaling, Raster Images & OCR
- Troubleshooting
- How to Resize a PDF Online vs Desktop Apps
Resizing a PDF is more challenging, especially when you need to adjust not only the overall page size but also the margins and content scaling. Whether you're preparing documents for print or simply making a file easier to share, understanding how to resize a PDF properly is essential.
This guide will walk through a detailed method for PDF resizing to ensure your document looks clean and consistent. Read this article to the end to discover which approach works best for your needs and how to avoid common pitfalls.


 G2 Rating: 4.5/5 |
 100% Secure
Part 1. What "Resizing a PDF" Actually Means
Resizing a PDF actually refers to changing a specific property of the PDF, such as its file size, dimensions, or margins. So, let's explore the main key difference between its PDF resize types to know more accurately:
| Specs | Page Size Change | Scaling Content | Cropping/Trim |
| Definition | Alters the dimensions of the PDF's pages | Enlarges or reduces the entire content area | Removes or hides portions at page edges |
| Purpose | Adhere to standard formats (A4, Letter, etc.). | Make content easier to read, fit within the new page | Eliminate excess margins or whitespace |
| Effect on Content | No content change,just page boundary | Scales text/images up or down, can distort | Content outside the crop area disappears |
| Impact on Margins | Margins may change if a new page size is set | Margins scale with content | Custom margins can be imposed via crop |
| Quality/Resolution | No effect for vector, raster may pixelate | May lose quality if raster images are scaled | No quality loss for vectors; raster stays sharp |
| Accessibility | Standard sizes enhance print/PDF reader compatibility. | May affect screen reader layouts | Cropped content may not be accessible, but original data remains |
| Batch Processing | Can be applied to all pages for a uniform size | Possible to scale all pages at once | Select a specific page range to crop |
Resolution/Quality Considerations
After understanding the resize PDF page size basics, it's equally important to look at what resolution is, especially when comparing vector and raster graphics.
- File Size: High-resolution raster images increase PDF file size, while vectors generally keep file sizes smaller for simple designs.
- Editing: Vector objects in PDFs are easier to scale precisely, which often leads to visible quality degradation if not managed at the correct resolution.
- Ideal For Graphics: Vectors are best for those that need frequent resizing, like logos or diagrams, and are best for print.
- Scaling Up: Vector-based content in PDFs can scale up indefinitely for posters or large prints, but raster images lose sharpness if increased.
Part 2. Quick Answers: Common Resize Goals
Now that we've covered the fundamentals, let's move on to some quick answers for the most common resize goals users often have:
- A4: Switching between A4 and Letter formats ensures a document prints correctly for international or regional standards.
- Fit To E-Reader Screens: Resizing PDFs to fit a specific tablet or e-reader improves readability and navigation, reducing the need for scrolling or zooming on small screens.
- Uniform Page Size: Many academic or professional platforms require all pages to be of a uniform size.
- Remove White Margins: Cropping excess margins creates professional-looking documents, which helps when preparing files for physical binding.
Part 3. Method 1—Resize the Entire PDF in PDFelement (Step-by-Step)
If you want to resize PDF pages seamlessly without disturbing the original format, we recommend using PDFelement. This platform provides multiple options for changing the page size, whether that involves applying a standard format or customizing the size. It offers a specific "Organize" feature menu that allows users to select all pages in the document, ensuring uniformity.
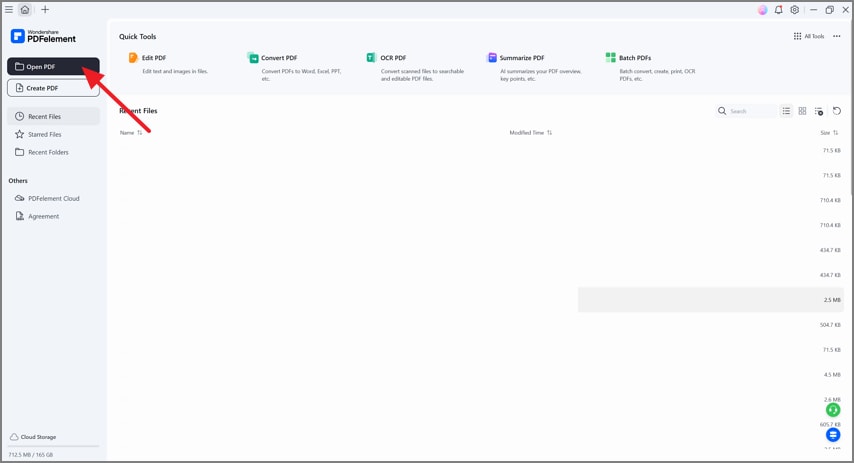
Step 1Open the PDF and Launch "Resize Page"
Initiate by launching PDFelement and clicking on the "Open PDF" to open the desired file from the device.
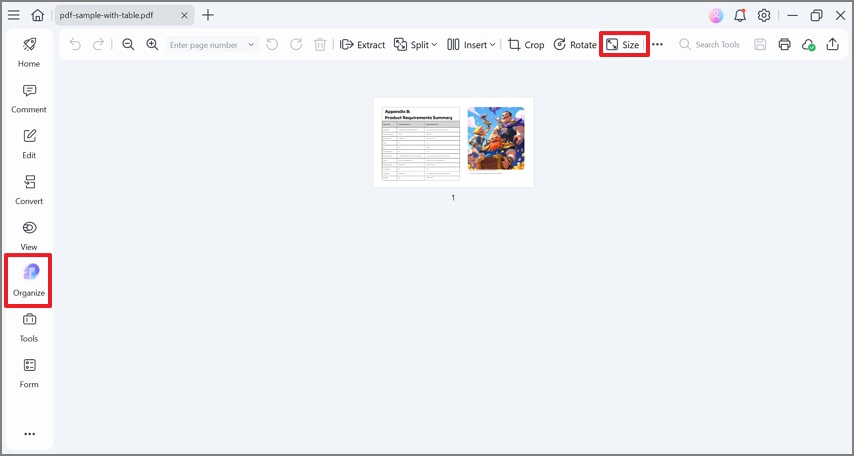
Click on the "Organize" menu and select the "Size" option to open the resize page of this tool. Here, choose the custom height of the PDF by manually typing in the "Custom" menu.
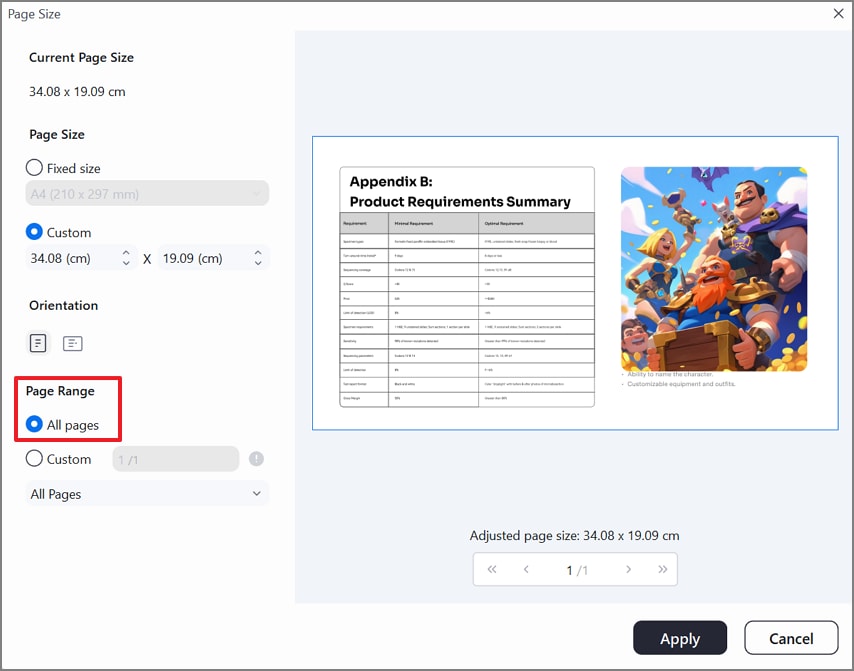
Step 2Scope: All Pages vs Selected Range
Now, choose "Page Range" to "All Pages" to apply the size effect to all pages of the PDF.
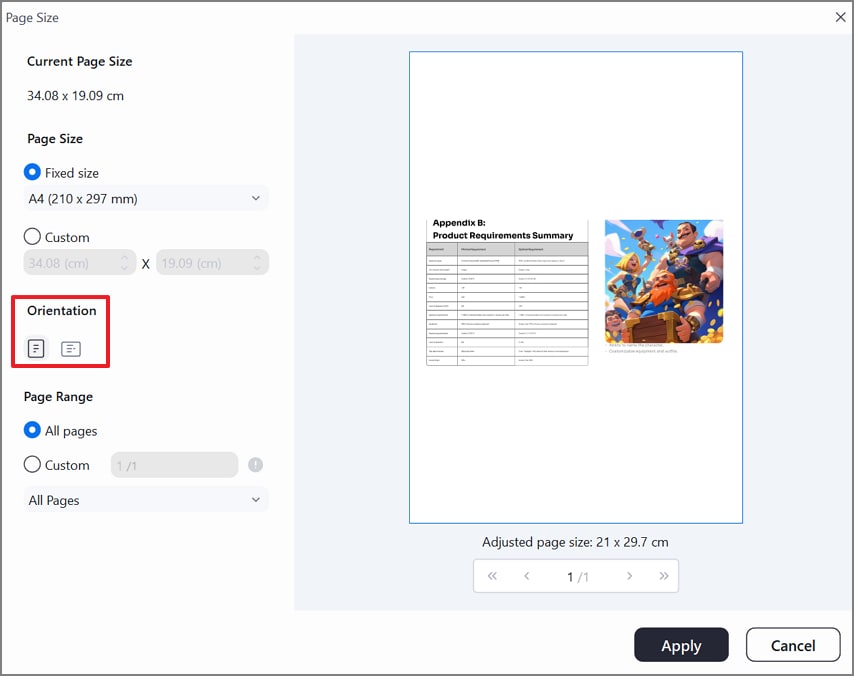
Step 3Content Scaling Options
Here, navigate to the "Orientation" option and choose the desired aspect ratio for your file.
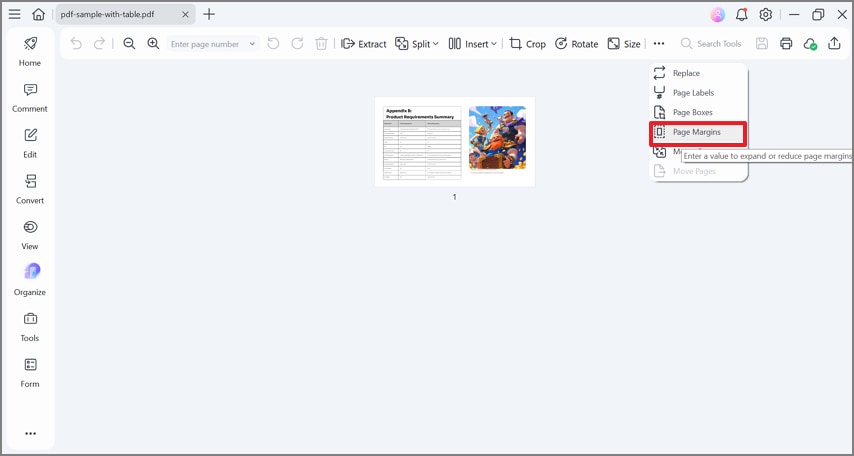
Step 4Add/Adjust Page Margins
At the end, click on the "Three Dots" and choose the "Page Margins" option from the pop-up menu.
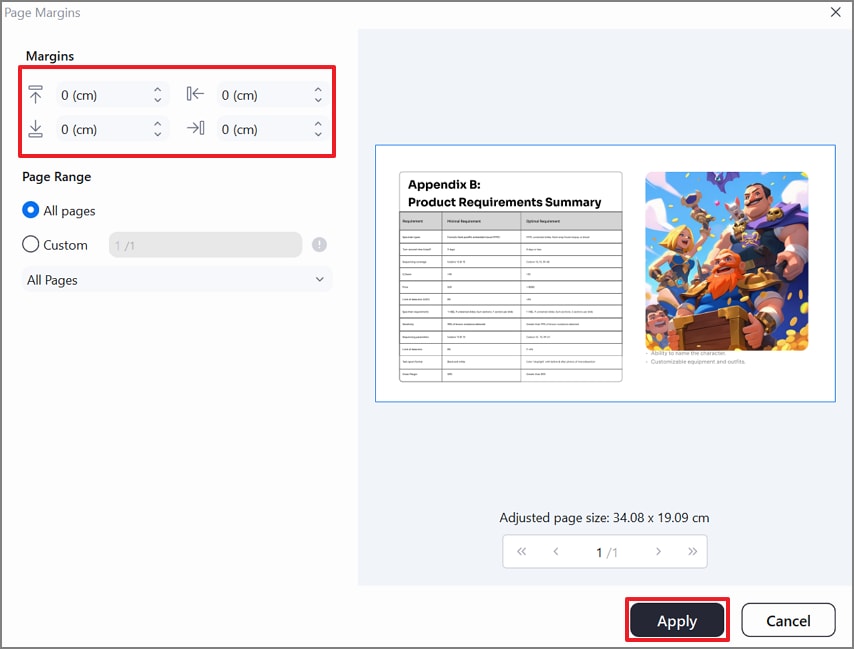
Go for the desired "Margin" size, "Page Range," and tap on the "Apply" button to make the changes to the PDF.
Upon reading its straightforward, step-by-step guide, download PDFelement to resize an entire PDF and streamline your document editing process.
G2 Rating: 4.5/5 |100% Secure
Part 4. Method 2 — Batch Crop PDF Pages (Uniform Trims at Scale)
Besides resizing single documents separately, you can access PDFelement batch crop PDF option. This will help you manage multiple documents for uniform resizing, helping you to save essential time:
Step 1Use "Batch Crop" For Multi-Page Magazines, Scans, Or Forms
If your file has multiple pages, click on the "Organize" menu, then tap on the "Crop" option to access crop settings.

Here, manually drag the borders of the PDF to get the exact size you want for the PDF.
Step 2Crop Presets and Custom Crop Frames
You can also choose the preset sizes or go for a custom size before tapping on the "Apply" button to make the changes to the file.
Step 3Preserve Readability of Text
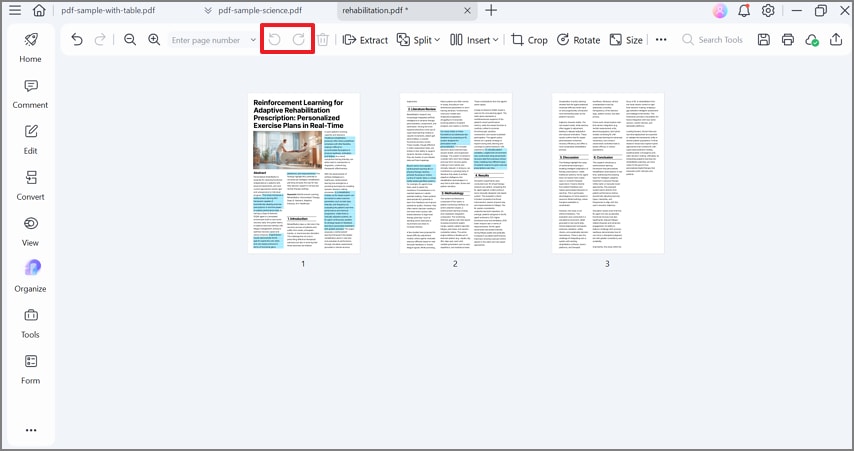
While doing cropping, make sure you don't overcrop the text, which can also be undone by clicking on the "Undo" and "Redo" options.
Product Tip: For better and accurate results, combine and apply both features "Combine Batch Crop + Page Resize" on your PDF in PDFelement.
Part 5. Method 3 — Precision with Page Boxes (CropBox, BleedBox, TrimBox, ArtBox)
If you are a perfectionist and want to resize the PDF page size accurately, go through the following method:
What the Boxes Mean (for Print/Prepress)
At first, let's begin by exploring what these boxes are basically meant for and why they are being used in PDF editing:
- CropBox: It defines the area of the PDF page that will be displayed or printed by default in most PDF viewers. Mostly, users used this for quick prints, as it can hide elements outside its boundaries.
- BleedBox: This box covers the region to which any artwork or background color should extend, right to the edge of the final trimmed page. It is typically 2–5mm larger than the TrimBox on each side.
- TrimBox: Specifically designed for the final cut size, as it provides the exact dimensions of the finished printed page after trimming. It is considered the most important box as it is used by imposition and printing software to position pages accurately.
- ArtBox: It covers the area that contains the meaningful content, often called the safe zone for graphics. Artbox is smaller than the TrimBox to ensure no important information is lost during trimming.
When to Use Which Box: Understanding Use Case Scenario
Now, let's explore when to use these boxes, as each PDF box serves a unique purpose in the print and prepress process:
| Box | When to Use |
| CropBox | On-screen display, office printing |
| BleedBox | Print jobs needing edge-to-edge colors |
| TrimBox | Setting final printed size |
| ArtBox | Isolating main content safely within design |
Set/Adjust Boxes in PDFelement
Now, let's explore a detailed stepwise guide to set the desired box type to resize PDF pages with PDFelement:
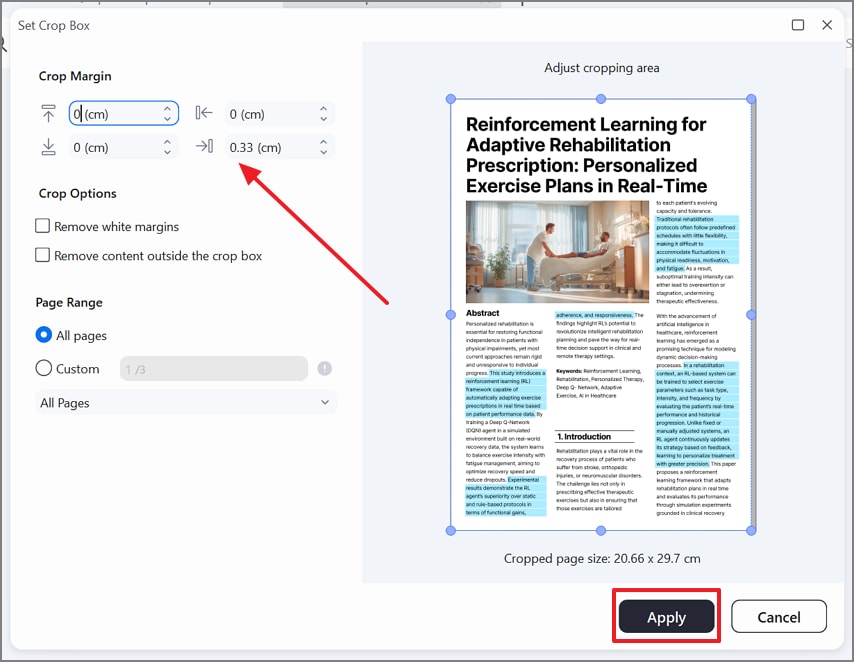
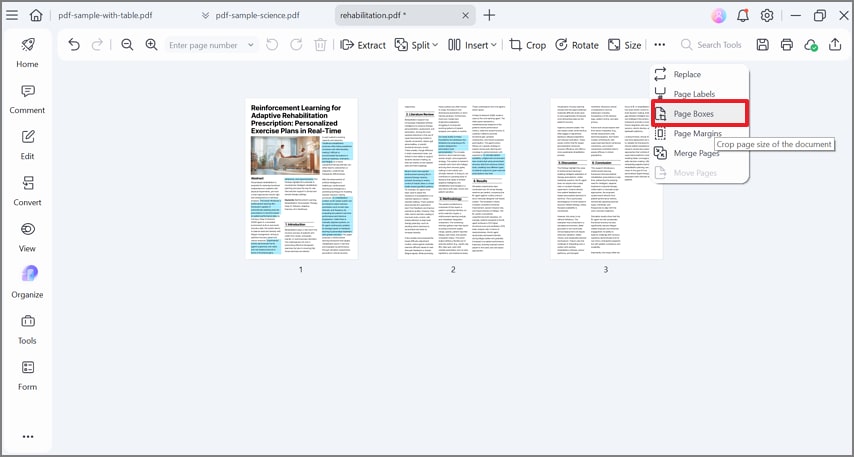
Step 1Open the Required PDF and Choose the Page Boxes Option
As you insert the desired PDF document, tap on the "Page Boxes" option available on the top toolbar.
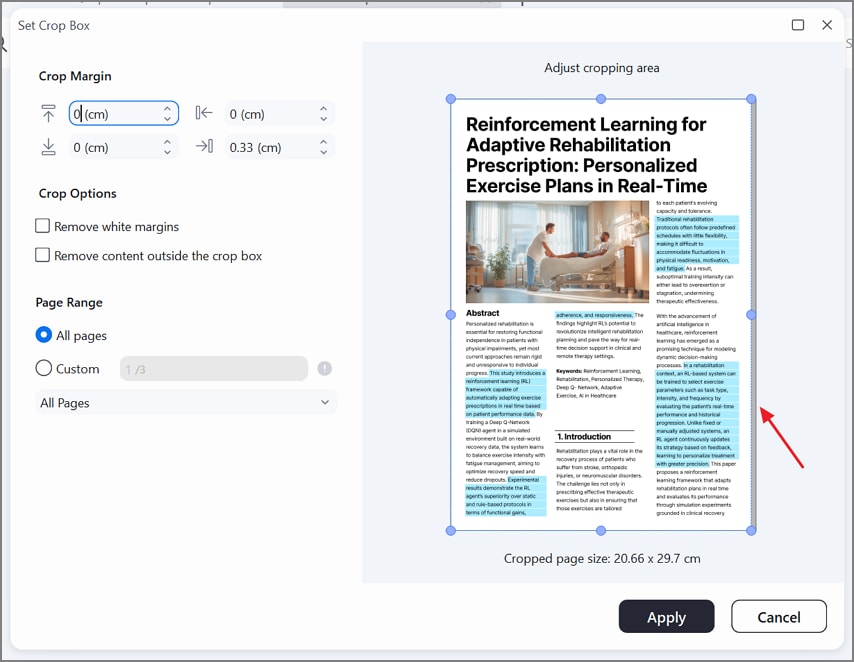
Step 2Select Box Type and Select Its Dimensions
Tap on the "Crop Margin" drop-down menu to choose the desired box type, select the desired dimensions, and hit the "Apply" button to save the changes.

Common Publishing Workflows
Common publishing workflows for magazines and brochures require designers to set up documents with a 3mm bleed on all sides to ensure edge-to-edge color. So let's explore a detailed workflow on how designers set up an effective workflow while using PDF resizer:

Step 1
By using a reliable design software, generate a document with the desired trim size and make a 3mm bleed on all sides.
Step 2
Now, extend backgrounds, images, and any color blocks fully into the bleed area and try to keep the content, like text, into a safer zone.
Step 3
After making edits, make sure you activate the "Use Document Bleed Settings" option while exporting. It will ensure that printers receive files with sufficient margins.
Part 6. Method 4 — Change or Add Page Margins
After exploring cropping, let's dive into why adding margin matters and the main key differences between margin types:
Why Margins Matter
- Binding: Margin, especially the inner ones, prevents text or images from being lost in the spine during binding.
- Readability: Using margins files makes it more readable as it offers clear separation between text and edges, reducing visual clutter.
- Notes: In academics and reference books, wider margins allow room for handwritten notes and navigating cues like page numbers, etc.
- Compliance Template: Many publishers need margins to meet the requirements of clients, avoid print errors, and standardize formatting.
PDFelement Page Margins
Here is a detailed comparison table between PDFelement's page margin options, along with available presets and custom units:
| Specs | Uniform Margins | Asymmetric Margins | Presets | Custom Units (inches/mm) |
| Ease of Use | Fast, suitable for most documents | More flexible for binding or note space | Quick selections, ideal for standard layouts | Precise adjustment for special formats |
| Accessibility | Consistent look | Adapts for left/right (book) use | Simplifies for most users | Best for advanced designs or custom layouts |
| Set up in PDFelement | One setting applied to all sides | Set margin for each edge | Click and select from the dropdown | Enter inches or millimeters per side |
| Preview | Shows a change in layout | Visualizes per-side adjustments | Preview updates with selection | See the impact before applying |
| Editing Flexibility | Best for batch/document-wide edits | Customize for every page or section | Apply to the entire file, a single page, or a range | Supports unique designs and compliance |
Part 7. Choose the Right Approach (Comparison Table)
Here, we have a detailed breakdown of the best approaches to use while opting for an efficient PDF resizer:
| Task | Best PDFelement Function | Steps | Output Control | When to Use |
| Whole-File Resize | Resize Page | Open file,set new page size, apply to all pages | Full (all pages, size, margins) | Converting entire docs for print or submission |
| Selected Pages | Organize | Select range/pages, resize or crop | By page/range | Updates to certain chapters/sections |
| Batch Crop Scans | Batch Crop | Add scans, set uniform crop area, preview, and apply | High (multi-file uniform trims) | Bulk trimming borders off scanned files |
| Prepress (Trim/Bleed) | Page Boxes | Set TrimBox/BleedBox, export with settings | Precise (trim, bleed, layout) | Magazines/brochures, professional print |
| Add Margins Only | Page Margins | Use the margin editor, set values, and preview | Full (choose sides and units) | Preparing for binding, note-taking |
| Scale To Device | Resize (Range) | Choose target size/resolution, scale/export | Variable (fit device screen) | Tablets, e-readers, digital publications |
Part 8. Keep Quality Intact: Scaling, Raster Images & OCR
Ensuring top quality when resizing PDF page size depends on understanding how vector and raster graphics respond to scaling. Vector graphics such as logos and icons are resolution-independent, as they scale cleanly to any size without loss, making them ideal for layouts. Whereas raster images like photos are made of pixels, and upscaling them leads to a loss of clarity and becomes pixelated if enlarged.
What if Document is Scanned?
For scanned documents, preserving text quality and searchability is crucial, so if your PDF editor supports OCR, then run it to convert image-based text into editable text. This greatly enhances the utility of scans, especially when moving documents between platforms or formats.
Export Tips For Quality Assurance
When exporting your finished PDF for print, choose the PDF/X standard to ensure print compatibility. If your file contains transparency effects like layered graphics, enable flattened transparency during export. It will help prevent errors when printed or processed by older systems or digital presses. For raster images, always maintain the original DPI, typically 300 DPI, for higher-quality prints.
Part 9. Troubleshooting PDF Resize Issues
Here we have listed some of the most common troubleshooting issues that occur during the PDF resize procedure:
- Mixed Page Sizes: This issue occurs when cropping, importing, or editing PDF pages in batches, resulting in inconsistent page dimensions.
- Printer Cut Off Edges: This type of error occurs due to inadequate margins, bleed settings, or improper TrimBox configuration.
- Submission Portal Rejects: It frequently results from mismatched PDF dimensions, especially if a portal only accepts documents sized 8.5×11 inches or A4.
- Images Look Soft: Enlarging a 150 dpi photo for a 300 dpi print will result in blurriness, so avoid upscaling raster graphics beyond their original DPI.
Part 10. How to Resize a PDF Online vs Desktop Apps
Here we have a quick breakdown of online resizers with desktop to know which is a better option for you:
| Pros/Cons | Online Resizers | Desktop Apps (PDFelement) |
| Privacy | Risk of sharing sensitive files | Fully private; local processing |
| File Limits | Upload and file size capped | No limits (depends on device) |
| Quality Control | Basic, may downscale images | Full control: DPI, vectors, layout |
| Advanced Features | Limited; few have a box | Rich: boxes, margins, batch, crop |
| Convenience | Quick, accessible anywhere | Requires installation, all features local |
| Batch Tasks | Often unsupported | Supported; automate many files |
Summing up, in this article, we have provided you with a detailed guide on resizing PDF files by using different methods. However, we recommend downloading PDFelement to resize PDF pages perfectly without losing their quality.
People Also Ask
-
How do I resize a PDF without losing quality?
To resize a PDF without losing quality, use a professional PDF editor that preserves vector content. Choose a tool like PDFelement, as it allows you to change page size or crop margins while giving a sharp outcome. -
Can I resize only selected pages?
Absolutely, you can resize only selected pages in a PDF using most professional PDF editors, such as PDFelement. These tools let you choose a specific page range or set of pages for resizing your PDF pages. -
What's the difference between CropBox and TrimBox?
Both of these are page boundaries used in PDF files, which are related to publishing and printing workflows. Cropbox is used to define the area of file whereas TrimBox specifies the intended final dimensions of the page. -
How do I convert A4 to Letter or a custom size?
Simply launch your PDF editor, import your files, and look for options like "Resize Pages" or "Organize Pages". Now choose your custom size manually for your PDF file and hit the "Apply' button to save changes. -
How do I add margins to an existing PDF?
To add margins to an existing PDF, navigate to the "Page Margin" or "Crop" option in the toolbar. Afterwards, choose to add margins to all pages or just a selected range, select the desired ratios, and apply them. -
Is online PDF resizing safe?
Online PDF resizing can be convenient, but it does come with privacy and security concerns. It can expose sensitive documents to unauthorized access if the provider does not offer strong encryption. -
How do I standardize page sizes across a mixed PDF?
To standardize the whole PDF you need to use a resizing tool or adjusting all pages to a uniform size. You can opt for tools like PDFelement which provides advanced resizing features along with OCR.

