
Learn why a digital signature timestamp is vital for security and compliance. Discover simple steps to add and verify one in PDFs.
In this article
- What Is a Digital Signature Timestamp?
- Digital Signature vs. Timestamp vs. E-Signature
- How to Add a Timestamped Digital Signature (PDF)
- How to Verify a Timestamped Digital Signature
- Create Timestamped Signatures Using PDFelement
- Troubleshooting Timestamp Issues
- Compliance to Make Digital Signatures Trustworthy
- FAQs
Part 1. What Is a Digital Signature Timestamp?
A digital signature timestamp is cryptographic evidence of the exact time a digital signature or document existed, issued by a trusted Timestamp Authority (TSA). The time value comes from a reliable, verifiable source, so it holds evidentiary value and preserves long-term validation even if the signer’s certificate later expires.

Why Signature Timestamp Matters
- Makes signatures tamper-evident and non-repudiable.
- Preserves validation beyond certificate expiry (supports LTV).
- Strengthens legal/compliance standing for contracts and records.
Process of Getting a Digital Signature Timestamp
- Sign the document; a hash of its data is generated and sent to a TSA.
- The TSA returns an RFC 3161 timestamp token that includes a trusted time and the document hash.
- The token is bound to the signature; any party can later verify time and integrity.
Key Takeaway: A trusted timestamp binds your signature to an authoritative time source and prevents backdating.
Part 2. Digital Signature Vs. Timestamp Vs. E-Signature
Electronic Signature (E-Signature)
General electronic intent to sign (type/draw/click), focused on convenience; not certificate- or PKI-based.
Digital Signature
PKI/certificate-based signature that signs a document hash with the signer’s private key and verifies with the public key—favored in regulated environments.
Timestamp
Cryptographic proof of “when” a signature/document existed, issued by a TSA; augments auditability and long-term validity.
With vs. Without Timestamp (Comparison)
| Aspects | Without Timestamps | With Timestamps |
| Auditability | Limited; hard to track chronology | Complete; reliable time-ordered trail |
| Certificate Expiry Impact | Signature may fail after expiry | Preserves verification beyond expiry |
| Evidentiary Strength | Weaker; time unclear | Stronger; independent time evidence |
| Compliance Readiness | May miss time-verification rules | Supports standards (e.g., eIDAS, ESIGN) |
Part 3. Guide on How to Add a Timestamped Digital Signature in a PDF
Prerequisites
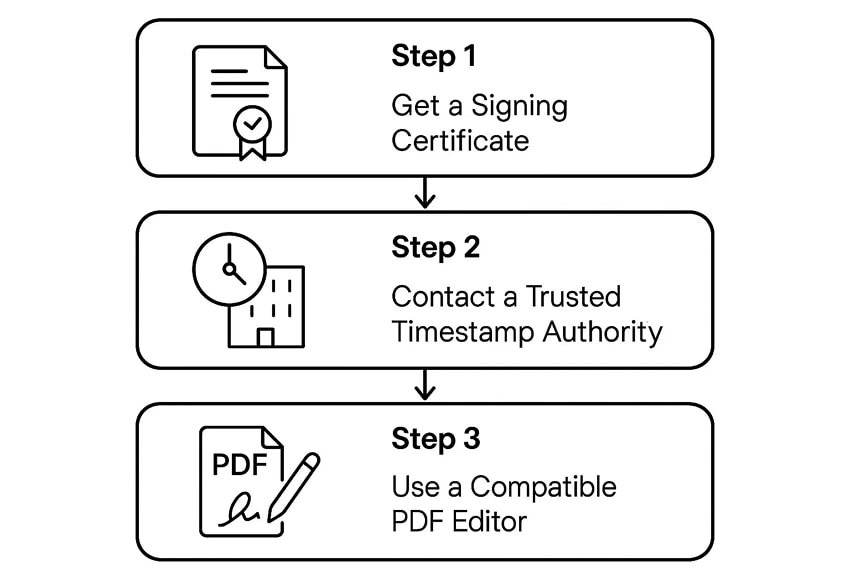
Step 1Get a Signing Certificate
Obtain a personal/organizational certificate (e.g., PFX/P12, token, smart card).
Step 2Contact a Trusted Timestamp Authority (TSA)
Get a TSA server URL (public or enterprise) to supply a trusted time source.
Step 3Use a Compatible PDF Editor
Ensure your editor supports digital signatures with timestamps.


 G2 Rating: 4.5/5 |
 100% Secure
Step-by-Step: Add a Timestamped Signature
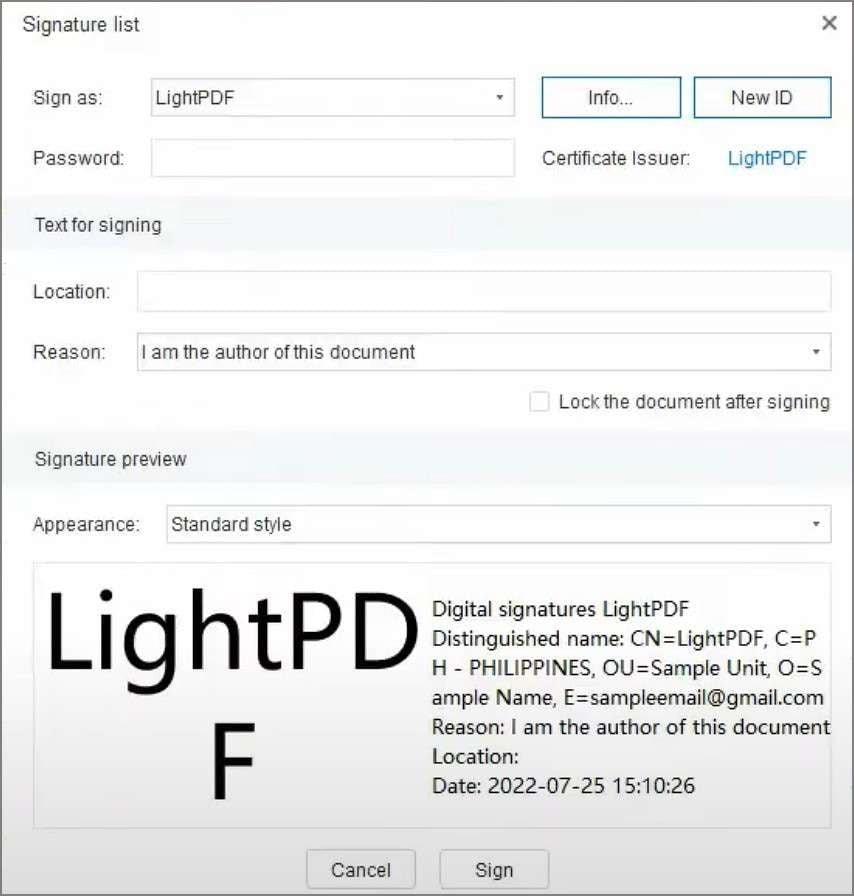
Step 1Create the Signature Field & Select Certificate
Open the PDF → go to Sign/Certificates → place a visible signature → choose your certificate and appearance.
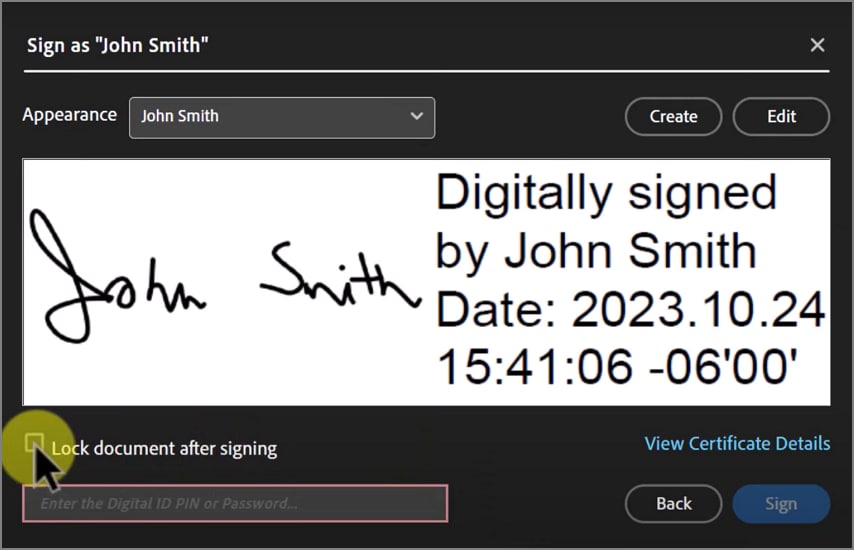
Step 2Enable Timestamp & Sign
Enable Add Timestamp and set TSA URL if needed → click Sign to embed the TSA token → save the PDF.
Part 4. Quick Guide on How to Verify a Digital Signature with Timestamp
Step 1Open Signature Panel
Open the document’s Signature Panel to view signature entries.
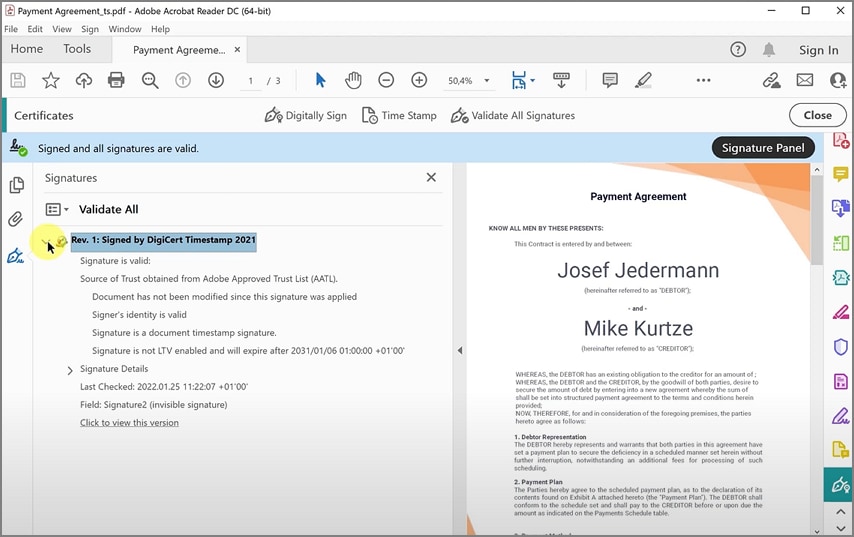
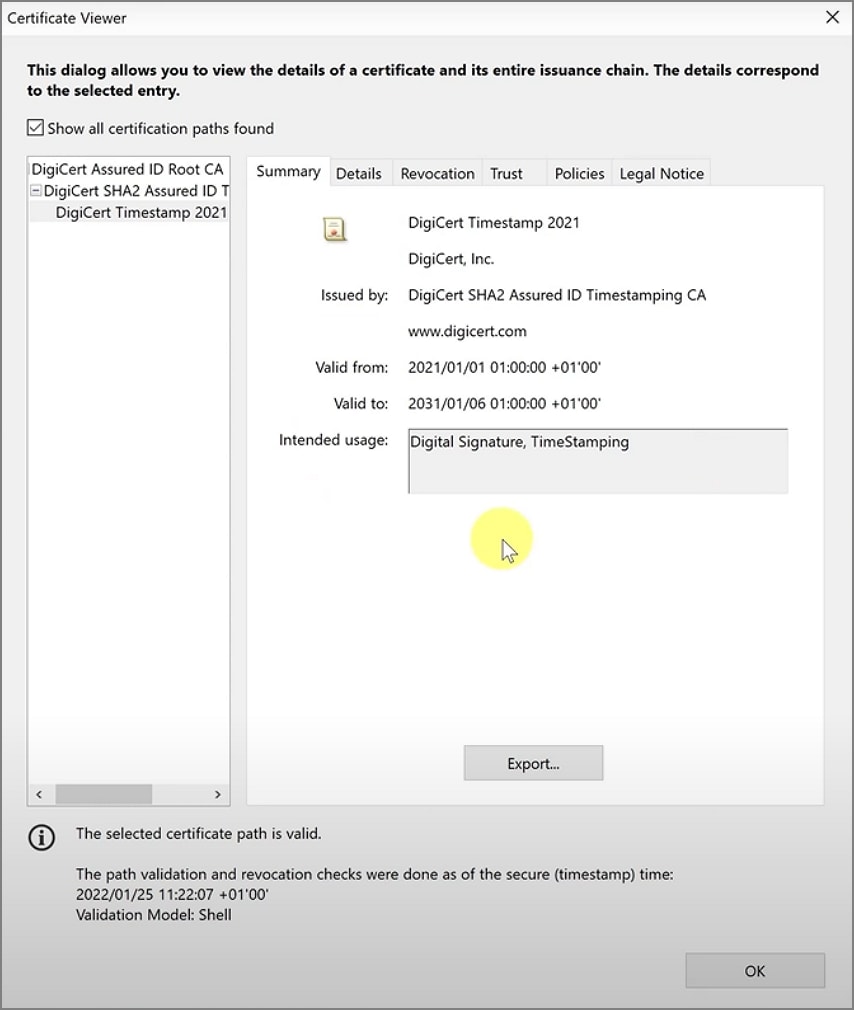
Step 2Validate Signature, Timestamp & Chain
Confirm “Signature is Valid” and timestamp is trusted, review the certificate chain/OCSP/CRL status, and ensure no post-sign changes.
Note: If the timestamp or signer certificate is untrusted, import the TSA/root CA to trusted identities or switch to a widely trusted TSA.
G2 Rating: 4.5/5 |100% Secure
Part 5. Create Digital Signature Timestamp Using PDFelement
PDFelement streamlines adding a certificate-based signature and a trusted timestamp in one guided flow, making signed PDFs compliant, tamper-evident, and defensible.
Key Features
- Guided Signing Flow: Clear steps inside a familiar editor.
- Trusted Timestamp: Embed a certified time during signing.
- Easy Verification: Check validity from the signature panel.
- Certificate Compatibility: Works with personal and enterprise certificates.
How to Create & Verify in PDFelement
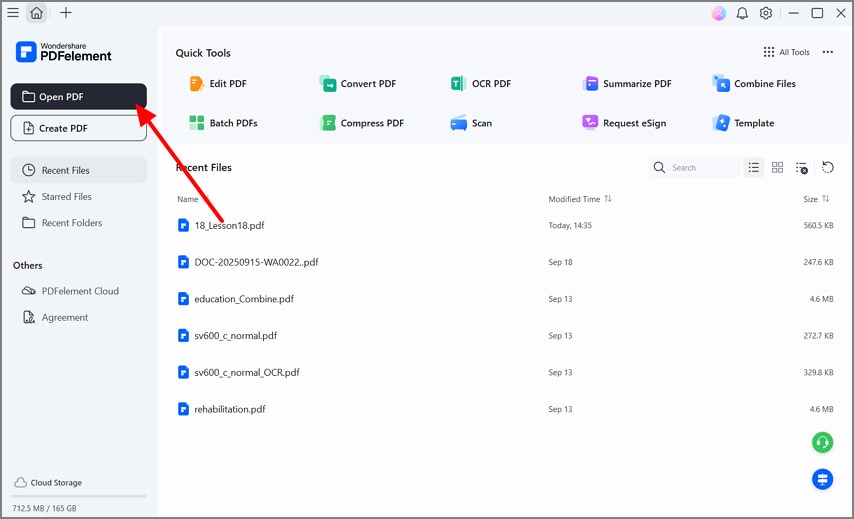
Step 1Open the PDF
Launch PDFelement → click Open PDF and import your file.
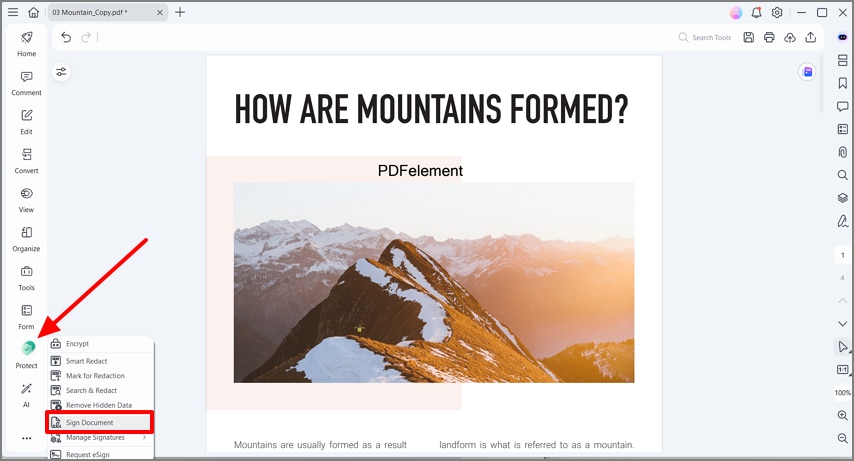
Step 2Navigate to Digital Signature
Go to the Protect tools and choose Sign Document.
Step 3Place Signature & Save
Set position, select Sign As and certificate info, then save to embed the signature and timestamp.

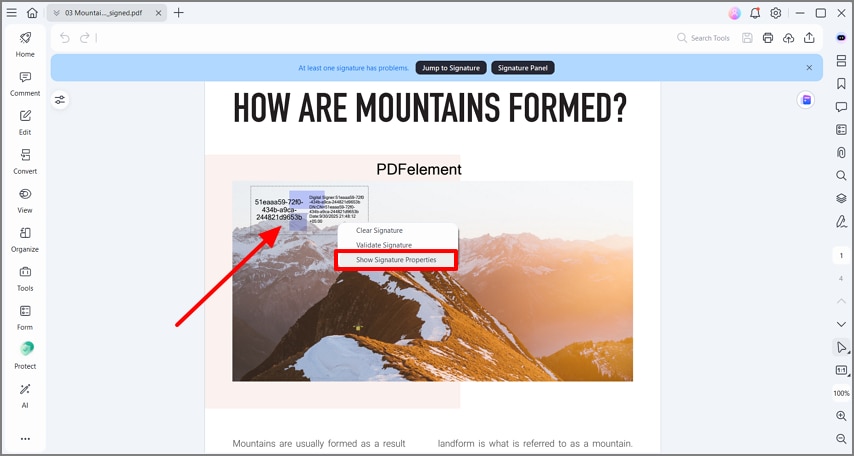
Step 4Open Signature Properties
Right-click the signature → Show Signature Properties.
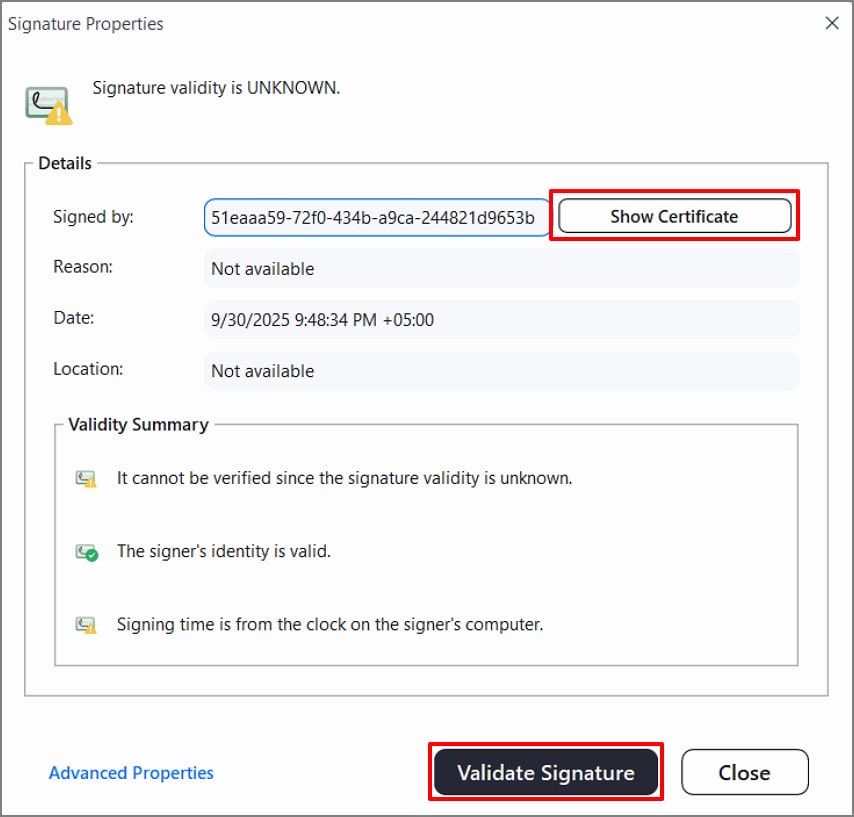
Step 5View Certificate & Validate
Click Show Certificate and then Validate Signature.
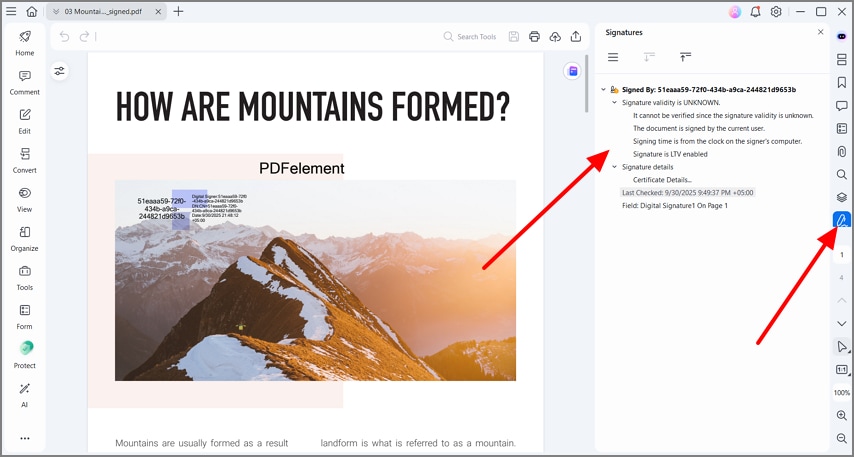
Step 6Use the Signature Panel
Click the Signature icon to open the panel and review details.
G2 Rating: 4.5/5 |100% Secure
Part 6. Troubleshoot Digital Signature Timestamp Issues
- Timestamp Failed: Check network, TSA URL/credentials, or try another TSA.
- Untrusted Timestamp: Import TSA root/intermediate certs to trusted identities.
- Expired Signer Certificate: LTV helps, but ensure revocation checks pass.
- Clock Skew: Use TSA time rather than local machine time.
- Archival: Avoid altering the original signed PDF after signing.
Part 7. Compliance to Follow to Make Digital Signature Trustworthy
- Audit Trails: Timestamps improve retention and audit support.
- Long-Term Proof (LTV): Embed revocation data (OCSP/CRL).
- Internal Policy: Standardize on one TSA and a documented workflow.
People Also Ask
-
What does a digital signature timestamp prove?
It proves the document/signature existed at a specific, trusted time and that the content hasn’t changed since. -
Do I need a TSA to add a timestamp?
Yes. A Timestamp Authority provides an independent, cryptographically signed time source. -
Is a timestamp the same as a typed signature date?
No. A typed date can be edited; a TSA timestamp is cryptographically bound to the content. -
Will my signature remain valid if my certificate expires?
With a trusted timestamp and LTV, verification can remain valid beyond certificate expiry. -
Can I verify a timestamp later?
Yes. Open the PDF’s signature panel to validate the signature, timestamp, and trust chain.

