 Home
>
PowerPoint Tips
> How to Add Curved Arrow in PowerPoint
Making a presentation in PowerPoint is an art and you must be Picasso of it. To increase the beauty and attraction of the PowerPoint presentation, you may add shapes, arrows, images, and charts, etc. So, this post is written to teach you how to add curved arrow in PowerPoint.
How to Add a Curved Arrow in PowerPoint
Adding a curved arrow in your presentation is the same in all the versions of PowerPoint, i.e., 2010, 2013, 2016, and 2019. Apart from the default options in PowerPoint, you also need to put a little bit of creativity from your side. So, let’s do it by following the steps below.
- Step 1. Launch PowerPoint and open the PPT file and the desired slide where you need to add the curved arrow.
- Step 2. Now, click “Insert” > “Shapes” in the Title Bar, and a drop-down will open having dozens of different shapes.
- Step 3. Locate the section “Block Arrows” and click on any one of the horizontal arrows to select it.

- Step 4. Now draw the arrow using your mouse. Once the arrow is drawn, you’ll witness a round arrow on top of it, using which you can transform the arrow to upwards or downwards. We’ll transform it into upwards in a tile position.
- Step 5. Upon selecting the drawn arrow, you’ll also witness the “Drawing Tools” option in the title bar, and click “Edit Shape” > “Edit Points”.

- Step 6. Here you have to be a bit creative to convert this plain arrow into a curved one. So, first, click-and-hold the down corner of the arrow’s tail and move it to inside. You’ll witness that the size of the arrow’s tail has been shrink. Similarly, click the top corner of the arrow’s tail and compress it.
- Step 7. After you have compresses it, you’ll see another point available to edit. Click and move it, and you’ll understand the whole scenario of how to do it.
- Step 8. Now select all the points one-by-one and edit them until you get a catchy curved arrow for your presentation. Once you are done with all the editing, save the PPT file and it’s done.

Note: For a double-curved arrow, while selecting the arrow in Step 3, select the one having arrows at both sides. Once drawn, follow the steps to curve it.
A One-Stop PDF Solution
Besides making PowerPoint more attractive by adding curved arrow, do you want to edit PDF more conveniently to save your time and improve efficiency? Well, there is a full-fledged software for you to solve all the PDF issues, that is Wondershare PDFelement - PDF Editor Wondershare PDFelement Wondershare PDFelement .
• It allows you to create PDF files, edit PDF files, convert PDF files, stylize PDF files, add annotations, comments, and much more into your PDFs, extract data from the scanned documents, and so on. You can also protect and sign a PDF using its Digital Signature feature.
• The high recognition rate OCR optical recognition engine easily supports scan editing. You can extract data from the scanned documents and forms and save them to CSV format in order to use the data in other different tools.
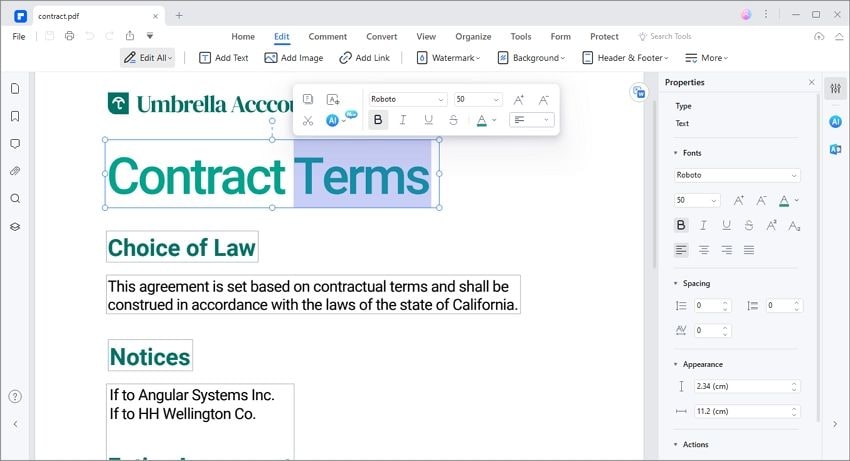
How to Edit Text and Images in PDF
Add Text – Import the PDF file to PDFelement and click “Edit” > “Add Text”. Now, click somewhere on the document to add the text.

Edit Text – Click “Edit” > “Edit Text and Image Object”. Now, click on the text in your document that you want to edit and change

Add and Edit Images – Click “Edit” > “Add Image” to add a new image into your PDF file. If you want to edit the existing image, select the “Edit” > “Edit Text and Image Object” option, and click on the image and remove it. And then you can add the new one by clicking on “Edit > Add Image”.

Annotate PDF – Click "Comment"> "Note". Now click on the location in your PDF document where you want to add the annotation. A text box will open in which you can add the text for reference.

Free Download or Buy PDFelement right now!
Free Download or Buy PDFelement right now!
Try for Free right now!
Try for Free right now!
 100% Secure |
 G2 Rating: 4.5/5 |
  100% Secure


Elise Williams
chief Editor