How to Sign a PDF in 2025

2025-03-26 17:47:49 • Filed to: Signature Knowledge • Proven solutions
PDF is the most widely used format for contracts, receipts, and invoices in the modern business world. It's often necessary to sign and send your PDF contracts and important files to partners and clients. Signing a PDF document electronically or digitally saves you a lot of time. In this article, we'll show you how to sign a PDF document for Windows with Wondershare PDFelement - PDF Editor Wondershare PDFelement Wondershare PDFelement.


Solution 1: How to Sign a PDF with Handwritten Signature
The PDFelement for the 8.1.4 version supports signing PDF with handwritten signature directly. It is quite convenient and easy for you to handwrite your name on the PDF document. For this, you can follow the steps below.
Step 1. Open Your PDF within PDFelement
Launch PDFelement on your computer and then load the PDF that you want to add a signature to. You can either click the "Open files" button on the "Home" window or drag and drop your file into this program.

Step 2. Create Signature
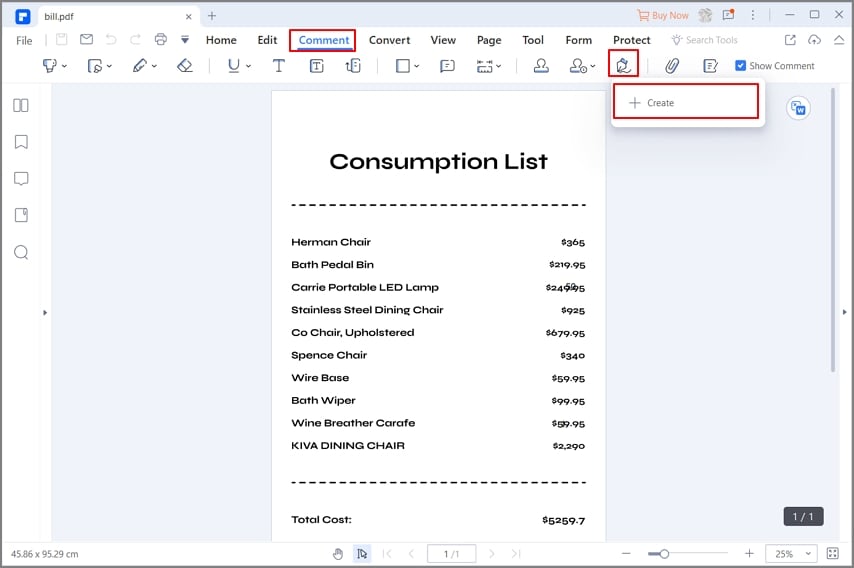
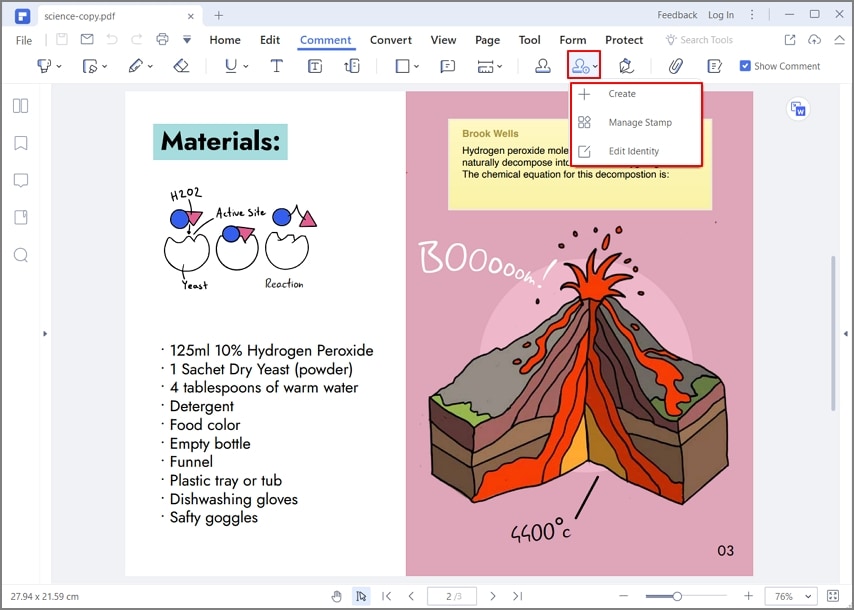
Go to the "Comment" tab and tap on the "Signature" icon in the submenu. Then you can click the "+ Create" button to add a handwritten signature.
Step 3. Sign PDF with Handwriting
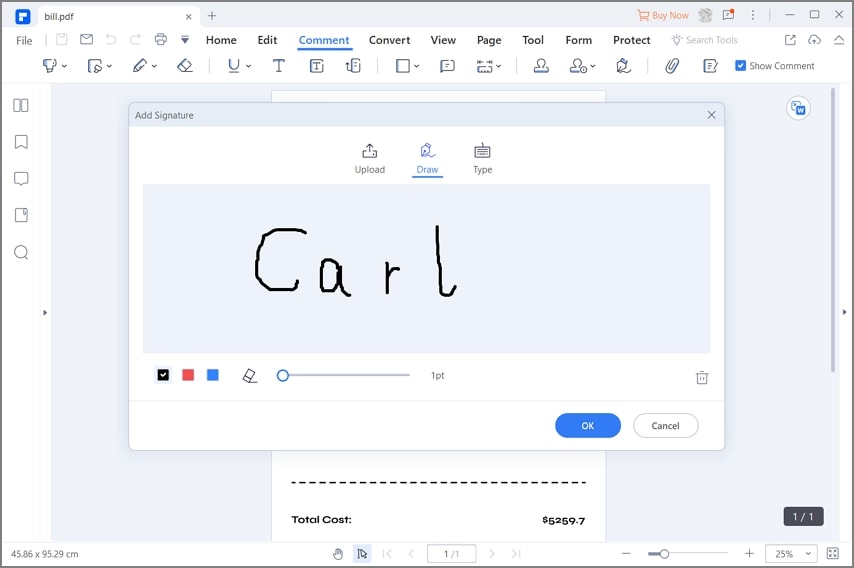
Now, the "Add Signature" window pops up, and there are three options for you to add a handwritten signature, including "Draw", "Type", "Upload".
The "Draw" option allows you to write your name directly on the document. Besides, here are three colors for you to select. You can choose one of them you liked to apply. After writing your name, click "OK" to place your handwritten signature in the right place.
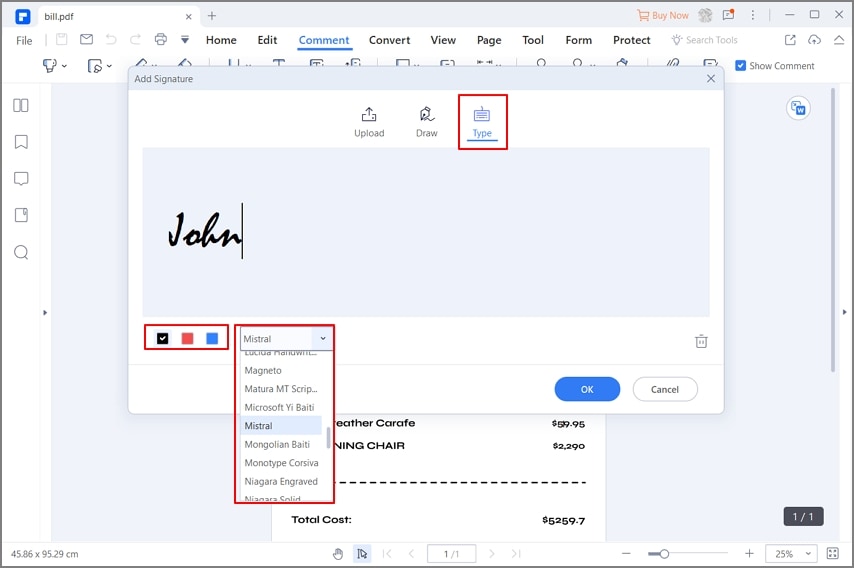
Additionally, you can also choose to type a handwritten signature by clicking on the "Type" option. Then you can directly type your name in the writing field. More conveniently, there are five handwritten fonts for you, and you can select one of them as you desired. Once down, tap on "OK" to insert the handwritten signature.
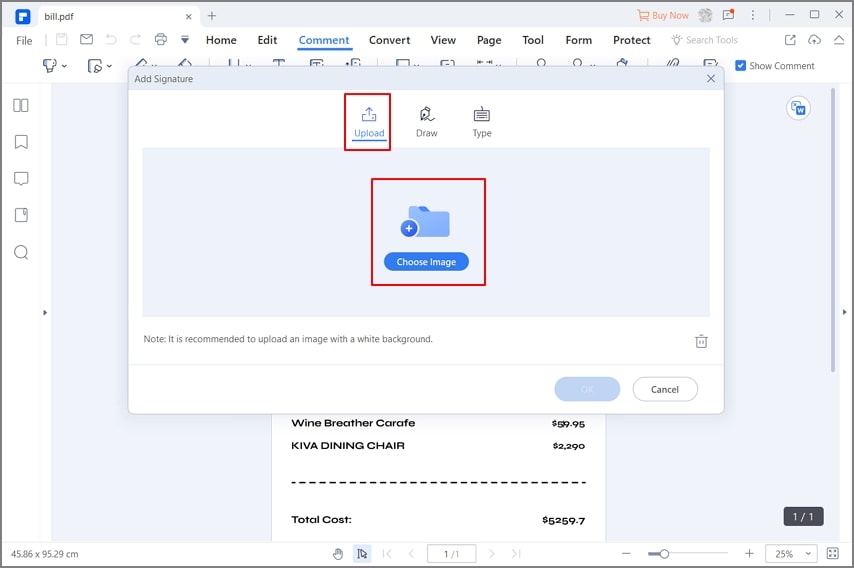
What's more, you can also upload the image within your signature. For this, you can tap on "Upload" to choose an image. Besides, there is one thing needed to note: it is better to upload the image with white background. After uploading the image, tap on "OK" to sign a PDF file with the image of a handwritten signature.
Solution 2: How to Sign PDF File with Digital Signature
Step 1. Access to Sign Document
To digitally sign a PDF, you need to navigate to the "Protect" tab and click "Sign Document". Then enter your digital ID and password. If you don't have a digital ID, create one with your name or email address by clicking "I want to create a new digital ID" and then tap on the "Next" button.

Step 2. Create Digital ID (Optional)
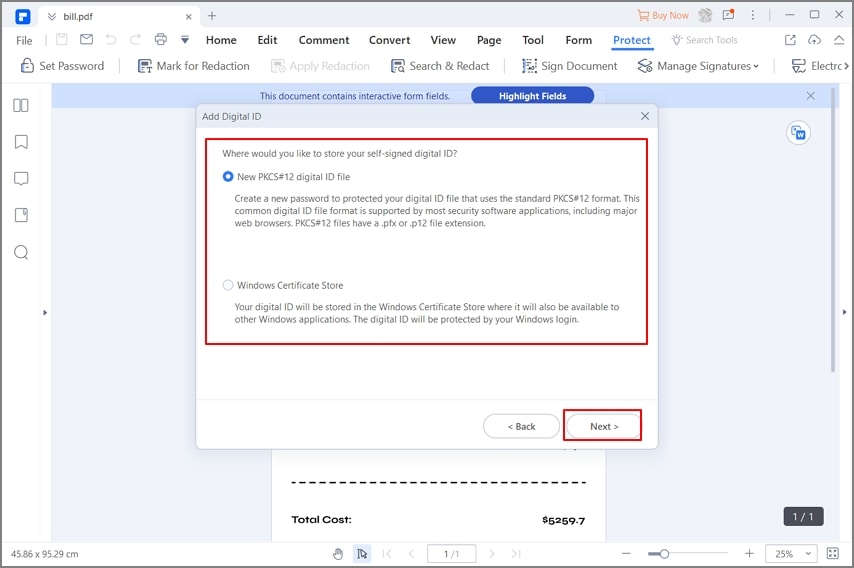
Then, there are two options for you to store your self-signed digital ID. After selecting one of them based on your need, click "Next" to proceed.
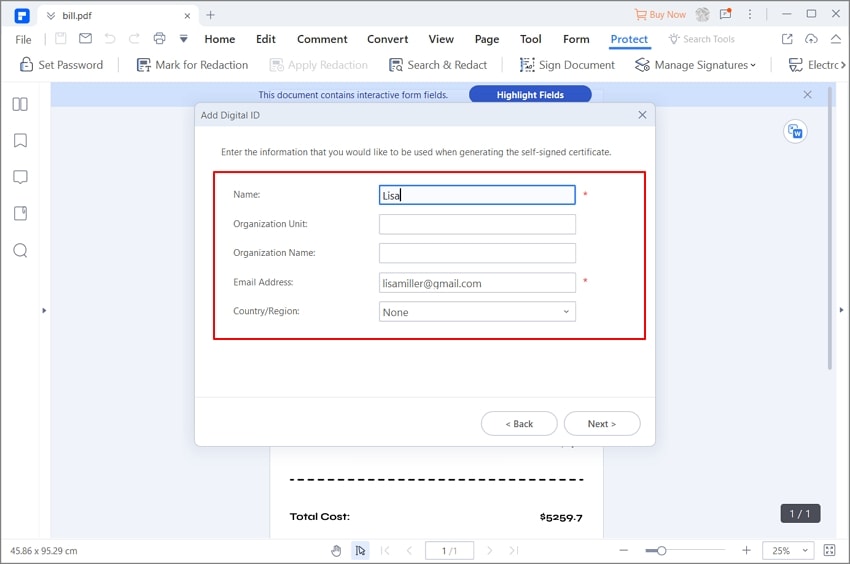
Now, you can enter your identity information to generate your self-signed certificate. Once done, tap on "Next" to go to the next step.
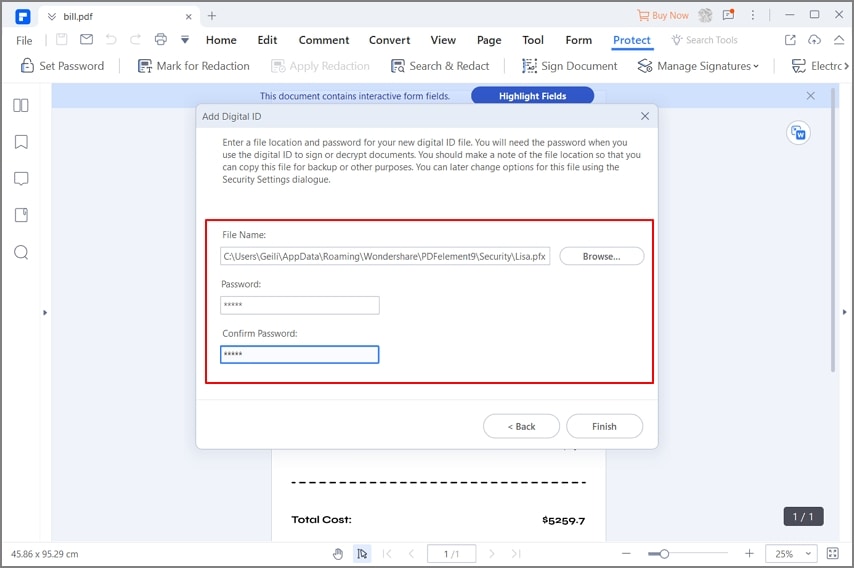
Next, you can set the file name, location, and password to save your new digital ID file. After that, click the "Finish" button to start to sign the document.
Step 3. Sign PDF with Digital Signature
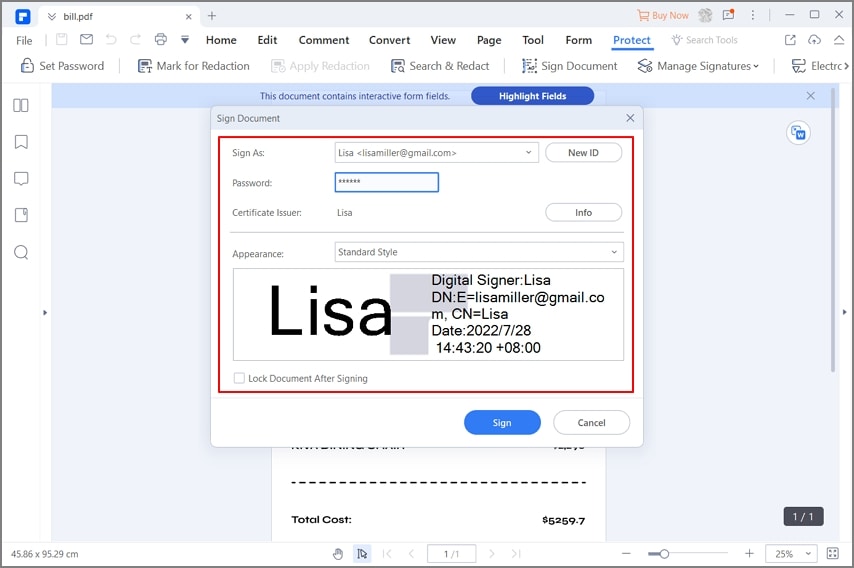
Now, you can enter your password to sign the PDF file. In addition, if needed, you can also click "Lock Document After Signing" to protect your PDF document. After that, tap on the "Sign" option, and in the pop-up "Save as" window, you can save the signed file. Finally, the digital signature will be inserted into this document.
Solution 3: How to Sign PDF File with Stamp
Step 1. Access the "Stamp" Option
You can use your handwritten signature by signing your name on a piece of blank paper and scanning it, or simply take a snapshot of it. Save that snapshot as an image. In the "Comment" tab, click the "Custom Stamp" > "+ Create" option.
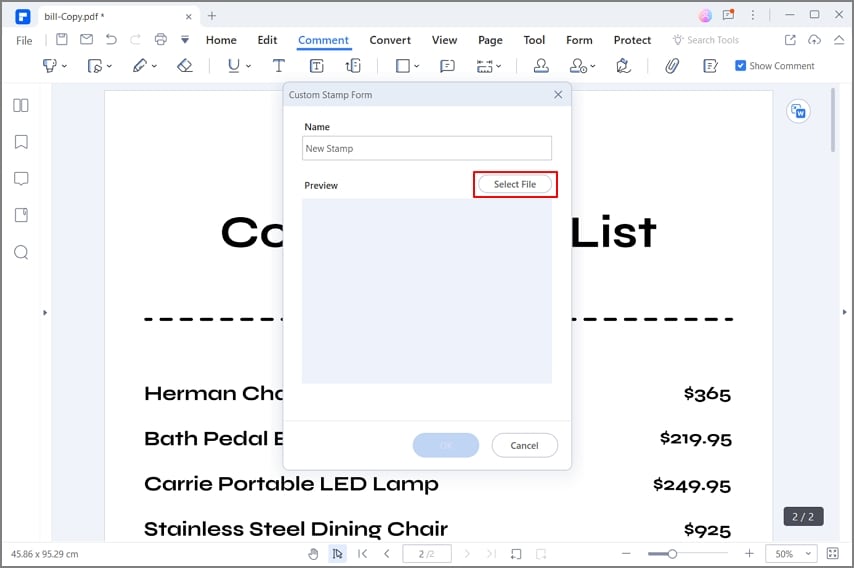
Step 2. Custom Stamp
In the pop-up window, you can change the Stamp name, and select your image with signature. After that, click the "OK" button to save the customized stamp.
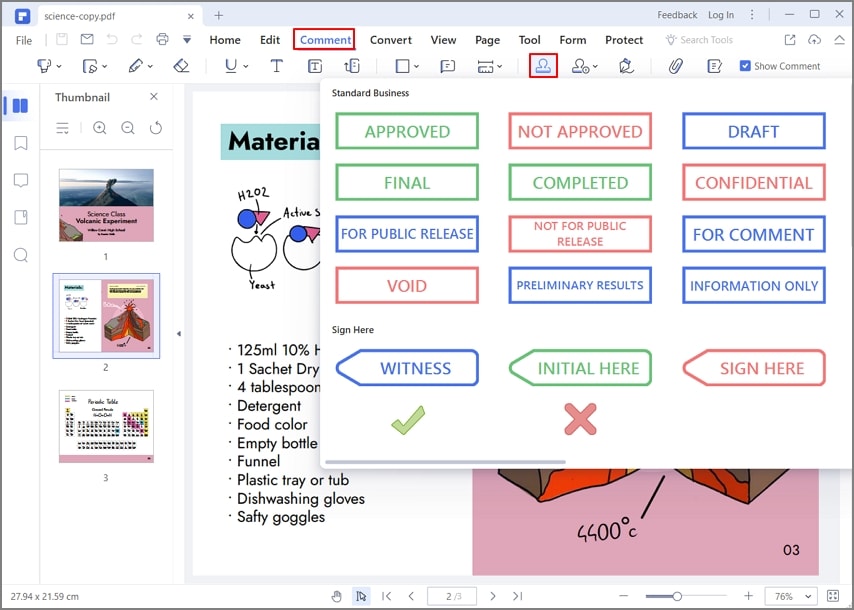
Step 3. Sign PDF File with Stamp
Now, you need to click the Stamp button and select your signature image from the "Custom" tab. Then you can place it on the PDF.
Video on How to Sign PDF with Digital Signature
Not only can you use PDFelement to insert a PDF signature, but it also comes with many features such as viewing, creating, editing, protecting, converting, and sharing PDF files. With it, you can create and add e-signatures and encrypted digital signatures, making the procedure stress-free and also speeding up your workflow with your co-workers, clients, and partners.
PDFelement is a well-designed and well-presented application that offers various wide-ranging editing features, allowing for modification of text, the addition of graphics, and more. This wonderful PDF editor is also capable of performing conversion between PDF files and many other kinds of files including all the standard Microsoft Office file formats.
Other Software to Sign PDF
1. Adobe® Acrobat®
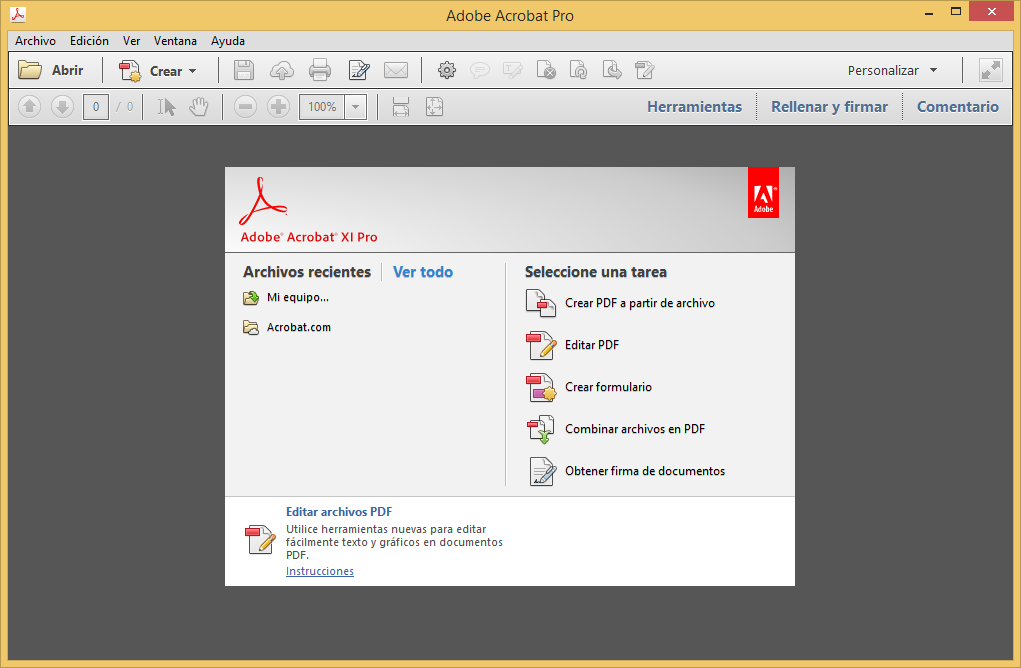
Adobe® Acrobat® enables you to edit, fill, sign, and share your PDF documents on various platforms. You can edit text and images in PDF documents, create new PDFs, export PDF to other file formats, and track PDFs from anywhere. Its signature tools help you sign a PDF either with a handwritten signature image or with a certified digital signature.
Since Adobe has already stopped supporting Acrobat XI in 2017, you won't receive any further updates from Adobe. In this case, it's better for you to find out the best alternatives to Adobe Acrobat.
2. Foxit Reader
Foxit not only lets you convert files to and from PDF, but it also lets you view PDF files through an intuitive interface. It lets you sign PDFs digitally to improve document security, through the one downside is that it only has a Windows version.

3. PDFpen
PDFpen allows you to export, edit, and sign PDFs without effort. It provides multiple methods to sign PDFs. You can choose to add a hand-written signature with the trackpad or a digital signature. What's more, you can edit text, correct content, fill out forms, and extract important information by OCR to turn a scanned document into a selectable and editable file. It has a macOS version as well.
Free Download or Buy PDFelement right now!
Free Download or Buy PDFelement right now!
Try for Free right now!
Try for Free right now!


Elise Williams
chief Editor