
Table of Contents
Rotating a table in Word sounds like it should take one click. In practice, Word treats tables differently from pictures, text boxes, and shapes, so the right method depends on what you mean by “rotate.” You may want vertical text inside cells, a wide table turned sideways on the page, a table rotated as a visual object, or rows and columns swapped.
This guide explains the practical ways to rotate table in Word without ruining your document layout. It also covers how to rotate an Excel table in Word when your data starts in a spreadsheet.


 G2 Rating: 4.5/5 |
 100% Secure
Why Rotating a Table in Word Is Tricky
Microsoft Word tables are built as editable document objects. You can resize them, merge cells, change borders, adjust alignment, and change text direction. But Word does not let you freely rotate a live table by 45, 90, or 180 degrees the same way you can rotate an image.
That limitation is the reason many tutorials offer several “rotation” methods. They are not all doing the same thing.
If you want the text inside table cells to read vertically, use Text Direction. If your table is too wide for a portrait page, use a landscape page section. If you need the whole table to appear rotated as a graphic, convert it to a picture first. If you want rows to become columns, use Transpose in Excel.
Choose the Right Method First
Before editing your document, decide what outcome you need:
Vertical cell text: Change text direction inside the Word table.
A wide table that fits on the page: Change that page or section to landscape orientation.
A table rotated like an image: Convert the table to a picture, then rotate the picture.
Rows changed into columns: Transpose the table in Excel, then paste it into Word.
If your table still needs heavy editing, avoid converting it to an image too early. Once a table becomes a picture, you can rotate it easily, but you lose normal table editing features such as sorting, editing individual cells, and changing formulas.
For Microsoft’s official details on table formatting tools, you can also refer to Microsoft Support’s Word table guidance.
Method 1: Change Text Direction Inside a Word Table
This is the simplest answer to “how to rotate a table in Word,” but it is more accurate to say that it rotates the text inside the table, not the entire table object.
Use this method when you want narrow column headings, vertical labels, or a compact table layout. For example, a comparison table with long column titles can often fit better if the headings are turned vertically.
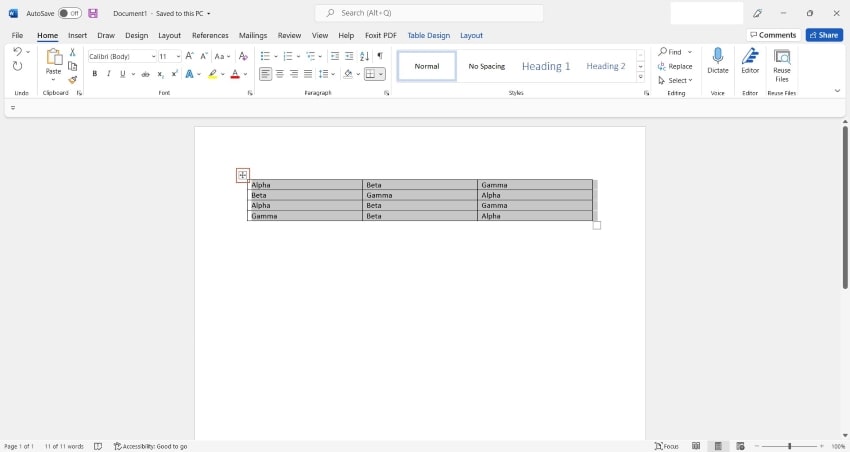
Step 1: Select the Table or Cells
Open your Word document and click inside the table. To select the entire table, click the small table handle that appears at the top-left corner of the table. You can also drag across specific cells if you only want to rotate text in part of the table.
If you are working with a large table, selecting only the header row is often better than selecting the whole table. Rotating all body text can make the table harder to read.
Step 2: Open the Table Layout Tab
After selecting the table or cells, Word will show table-specific tabs on the ribbon. Click Layout under Table Tools. Be careful not to confuse it with the general Layout tab used for margins and page setup.
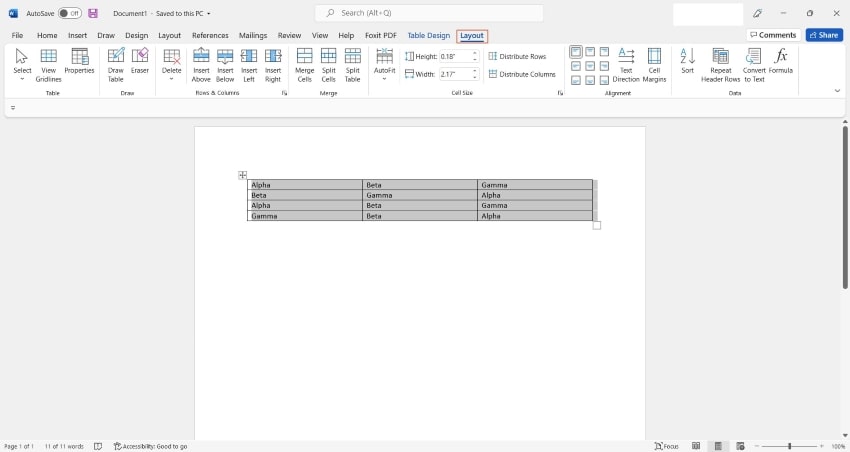
The table Layout tab includes options for cell size, alignment, distributing rows and columns, and text direction.
Step 3: Click Text Direction
In the Alignment group, click Text Direction. Each click cycles through the available text orientations. Stop when the text faces the direction you want.
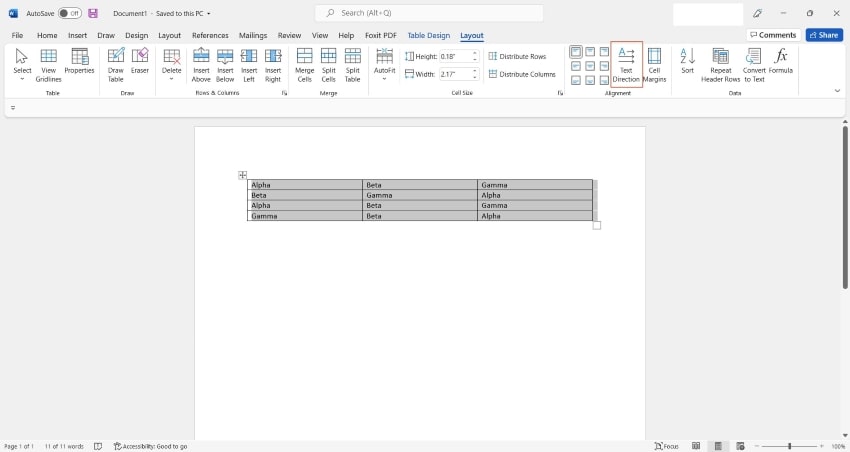
After changing the text direction, you may need to adjust row height or column width. Vertical text usually needs a taller row and a narrower column. Use AutoFit, drag the borders manually, or set exact measurements from the table Layout tab.
When This Method Works Best
Text Direction is useful for:
- Table headers with long labels
- Forms with side labels
- Compact comparison tables
- Tables where the data must remain editable
The main limitation is that the table itself stays in the same position. If you need the whole table to turn sideways, use one of the next methods instead.
Method 2: Put the Table on a Landscape Page
Many people search for how to rotate table in Word because a wide table does not fit on a portrait page. In that case, rotating the table is usually not the best fix. A cleaner approach is to place the table on a landscape-oriented page while keeping the rest of the document in portrait orientation.
This method keeps the table fully editable. It is ideal for reports, proposals, academic papers, financial summaries, and policy documents where a wide table needs more horizontal space.
Step 1: Place the Cursor Before the Table
Click at the beginning of the paragraph immediately before the table. You are going to create a separate section so Word can apply landscape orientation only to the page containing the table.
Step 2: Insert a Section Break
Go to Layout > Breaks and choose Next Page under Section Breaks. This starts a new section on the next page.
Then click after the table and insert another Next Page section break. The table should now sit inside its own section.
Section breaks can feel invisible until they cause formatting surprises. If you want to check your work, turn on formatting marks by clicking the ¶ symbol on the Home tab.
Step 3: Change That Section to Landscape
Click anywhere on the page containing the table. Go to Layout > Orientation > Landscape.
If Word changes the whole document instead of only the table page, open the Page Setup dialog box by clicking the small arrow in the Page Setup group. Under Apply to, choose This section.
Step 4: Adjust the Table Width
Once the page is landscape, select the table and use Table Layout > AutoFit > AutoFit Window. This helps the table fit the available page width.
You may still need to reduce font size slightly or adjust margins. For formal documents, try not to go below a readable font size simply to fit more columns. A table that fits but cannot be read is not a successful layout.
Why Landscape Is Often Better Than Rotation
A landscape page preserves the table’s editability, accessibility, and clean export behavior. Screen readers and PDF converters are more likely to handle a real Word table correctly than a rotated image of a table.
Use landscape orientation when the table is part of the document’s content. Use image rotation only when the table is primarily a visual element.
Method 3: Convert the Table to an Image and Rotate It
If you need to rotate the entire table as an object, convert it into a picture first. This works because Word can rotate images, even though it cannot freely rotate live tables.
This method is helpful for diagrams, appendix pages, quick visual layouts, or documents where the table does not need to be edited later. It is also useful when you want to rotate Excel table in Word after pasting it as a picture.
Step 1: Copy the Table
If the table is in Word, select it and press Ctrl + C on Windows or Command + C on Mac.
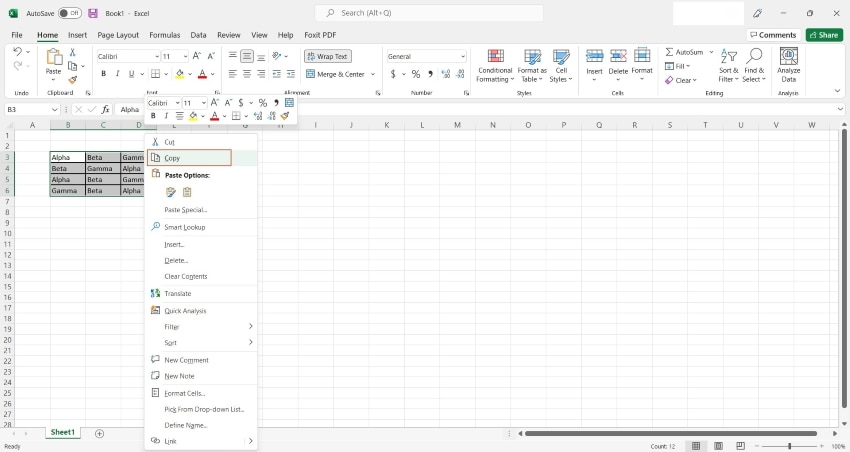
If the table is in Excel, select the cell range and copy it. Excel is often better for preparing the table first because you can adjust column widths, apply number formatting, and check formulas before turning the range into an image.
Step 2: Paste the Table as a Picture
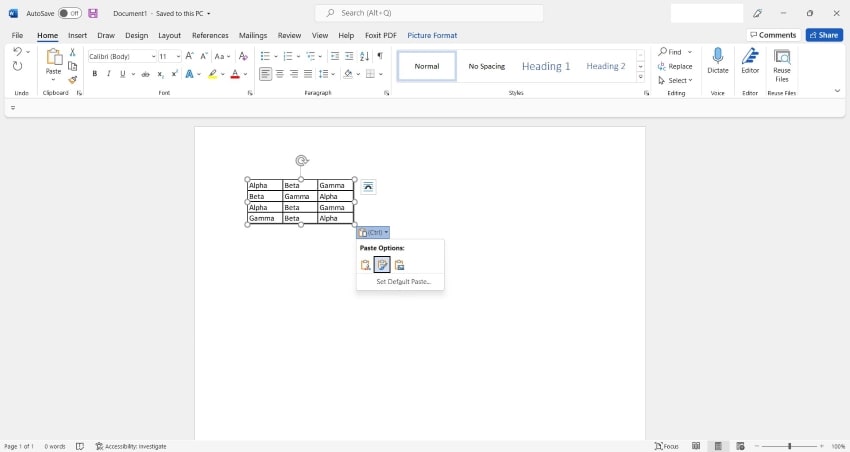
In Word, place the cursor where you want the rotated table to appear. Open the paste options and choose a picture format. Depending on your version of Word, this may appear as Picture, Paste Special, or an image-style paste icon.
If you are starting from Excel, you can also create the picture inside Excel first, then copy it into Word.
After pasting, click the image once. You should see image handles around it. If you can still click individual cells, it has not been pasted as a picture.
Step 3: Rotate the Picture in Word
Select the pasted table image. Go to Picture Format > Rotate. Choose Rotate Right 90°, Rotate Left 90°, Flip Vertical, or Flip Horizontal.
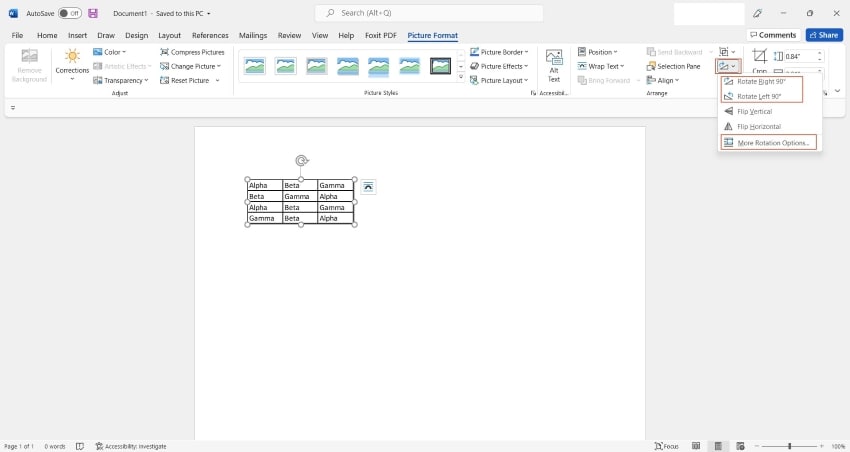
You can also drag the rotation handle above the image if you need a custom angle. For most document tables, a clean 90-degree rotation looks more professional than a slight manual angle.
Step 4: Set Text Wrapping
If the rotated table image jumps around the page, change its wrapping option. Select the image, click Layout Options, and choose one of these:
- In Line with Text if you want the image to behave like a large character in the paragraph.
- Square if you want text to wrap around it.
- Top and Bottom if the image should sit between blocks of text.
For formal reports, In Line with Text or Top and Bottom usually causes fewer layout problems.
Pros and Cautions
The advantage of this method is control. You can rotate the table exactly like a graphic and place it anywhere on the page.
The trade-off is editability. If a number changes, you cannot simply click into a cell and update it. You must edit the original table, create a new picture, and replace the old image. For final-stage documents, that may be fine. For drafts that are still changing, it can slow you down.
Method 4: Rotate an Excel Table in Word by Transposing Rows and Columns
Sometimes “rotate” does not mean turning the table sideways. It means converting rows into columns and columns into rows. In spreadsheet terms, this is called transposing.
If you need to rotate Excel table in Word this way, do the transpose step in Excel first, then paste the result into Word.
Step 1: Open the Table in Excel
Open the workbook that contains your table. Select the range you want to rotate from rows to columns. Press Ctrl + C or Command + C to copy it.
If the table includes formulas, check whether the formulas should remain formulas after transposing. In some cases, it is safer to paste values only, especially for data that will be used in a Word report.
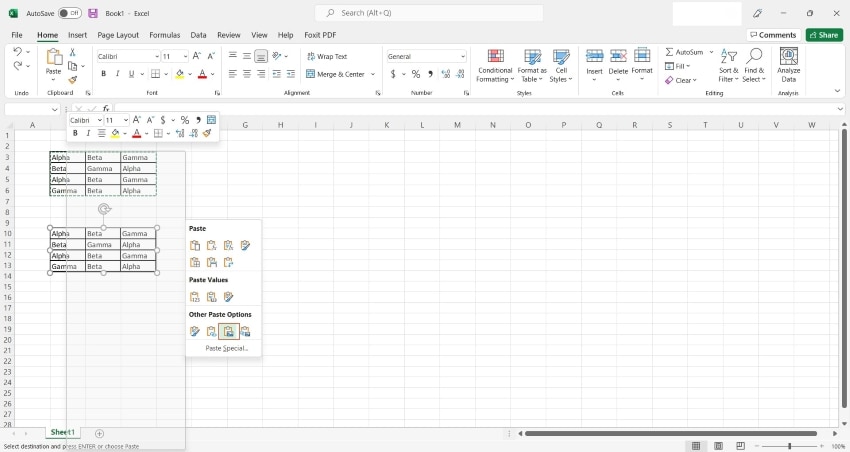
Step 2: Use Paste Transpose
Click a blank area in the same worksheet or another worksheet. Open the paste options and choose Transpose. Excel will switch the orientation of the data so rows become columns and columns become rows.

Review the result before moving it to Word. Transposing can create awkward column widths if your original row labels were long. Fixing the layout in Excel first usually saves time later.
Step 3: Copy the Transposed Table Into Word
Select the transposed table and copy it. In Word, paste it where you want the table to appear.
You can paste it as a normal Word table if you need to edit it later. You can also paste it as a picture if the formatting must remain fixed. If you paste as a linked Excel object, updates in Excel can carry over to Word, but linked files can break if the workbook is moved or renamed.
Which Paste Option Should You Use?
A normal Word table is best for text-heavy reports and documents that need final editing. A picture is best for locked visual placement. A linked Excel object is useful for recurring reports where the numbers update regularly, but it requires more careful file management.
For most users, pasting as a Word table is the safest choice. It keeps the data editable without depending on an external workbook.
Use PDFelement After Finalizing Word Tables
Word is usually the right place to build and adjust tables. Once the document is ready to share, review, archive, or send for approval, PDF is often the safer format because it preserves layout more reliably across devices.
That is where PDFelement fits naturally into the workflow. After you rotate a table in Word, set a landscape page, or paste a table image into the final layout, you can save or export the document as a PDF and open it in PDFelement for final document handling.
For example, if you are preparing a report with rotated tables, PDFelement can help you review the PDF pages, add comments for collaborators, compress a large file before sending it, organize pages, apply password protection, or add a signature before distribution. If your table came from a scanned document, OCR can make scanned PDF content searchable and easier to reuse.
The key point is not to replace Word’s table tools. Use Word or Excel to build the table correctly, then use PDFelement when the document moves into PDF review, sharing, signing, or archiving. That workflow avoids the common problem of sending a Word file that looks different on someone else’s computer.
G2 Rating: 4.5/5 |100% Secure
Troubleshooting and Formatting Tips
Rotated tables can create small layout problems, especially in long documents. Most issues come from page breaks, wrapping settings, oversized images, or mixed formatting copied from Excel.
If a rotated table image will not stay where you place it, select the image and check Layout Options. Images with tight wrapping can shift when nearby text changes. For stable placement, try In Line with Text or place the image in a dedicated blank paragraph.
If your table becomes blurry after being pasted as a picture, go back to the source table and enlarge it before copying. A small table stretched larger in Word may lose clarity. If possible, paste using a high-quality picture option rather than taking a screenshot.
If a landscape page changes the orientation of the entire document, the section breaks are probably missing or the setting was applied to the whole document. Reopen the Page Setup dialog and set Apply to: This section.
If Excel formatting looks messy after pasting into Word, try using Word’s paste options. Use Destination Styles makes the table match the Word document. Keep Source Formatting preserves the Excel look. Neither is always better; choose based on whether consistency or spreadsheet styling matters more.
If the table is too wide even on a landscape page, shorten column headings, reduce cell padding, use a smaller but readable font, or split the table into two smaller tables. Rotating is not always the cleanest solution.
People Also Ask
-
Can you rotate a table in Word by 90 degrees?
Not as a live editable table. Word does not provide a free-rotate control for regular tables. You can rotate text inside cells, place the table on a landscape page, or convert the table to an image and rotate the image by 90 degrees. -
How do I rotate text inside a Word table?
Select the cells or the whole table, go to Table Tools > Layout, and click Text Direction in the Alignment group. Click again until the text faces the direction you want. -
What is the best way to rotate a wide table in Word?
If the table is wide because it has many columns, the best option is usually to put that table on a landscape page using section breaks. This keeps the table editable and easier to read. -
How do I rotate an Excel table in Word?
If you mean turning the table visually, paste the Excel range into Word as a picture and rotate it using Picture Format > Rotate. If you mean switching rows and columns, use Excel’s Transpose paste option first, then copy the transposed table into Word. -
Can I rotate a Word table without converting it to a picture?
You can rotate text inside the table or change the page orientation, but you cannot freely rotate the entire live table object. To rotate the whole table as an object, you need to convert it to an image or place it inside another object-based layout. -
Will a rotated table still be editable?
It depends on the method. A table on a landscape page remains editable. A table with rotated text remains editable. A table converted to a picture is no longer editable as a table. -
Why does my rotated table image move around in Word?
The image wrapping setting is probably allowing it to float with surrounding text. Select the image, open Layout Options, and try In Line with Text or Top and Bottom for more predictable placement. -
Should I use Word or Excel to transpose a table?
Use Excel. Word is not designed for quick row-column transposition, while Excel has a built-in Transpose paste option. After transposing the data in Excel, paste the finished table into Word.

